
|
Do it yourself
| |||
| ||||


Fixing Front Seat Cushion
Model: Mercedes Sl
MK 5, R129
- Years 1989-2001
Frequent getting in and out of the vehicle tends to wear down the outer edge of the driver's seat cushion, affecting both the outer covering and the inner padding. In the case of fabric seats, the material can even tear, while leather seats may crack. You can remedy this issue quite easily, especially since the cushion is separate from the backrest and can be removed by simply unscrewing the two front mounting screws. Underneath, you will notice remnants of worn foam. Once you place the cushion on a workbench, detach the plastic edge that secures the covering to the seat frame to access the padding. Glue a piece of new foam onto the worn edge, shaping it appropriately with a utility knife. Then, reattach the covering and possibly restore it with a specific leather interior touch-up kit. Finally, reinstall the cushion.
Updated on 15 February 2026 by ScegliAuto
Video tutorial
Related tutorials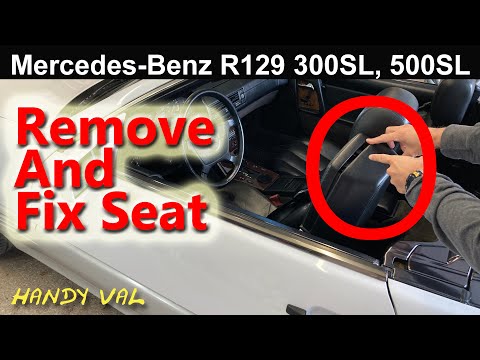
Mercedes Sl
(1989-2001 /
MK 5, R129)
In this video tutorial, we will see the main instructions that will allow us to remove the front seat of the Mercedes SL, following the steps outline…

Mercedes Sl
(1989-2001 /
MK 5, R129)
In this tutorial, you will see how to remove the seats in the Mercedes SL, an extremely simple and quick operation. Before proceeding, open the hood …

Mercedes Sl
(1989-2001 /
MK 5, R129)
Today we will discover the instructions that will allow us to disassemble and replace the immobilizer block of the Mercedes SL. First, we open the fr…
Other guides you may be interested in
|
How to Connect the Cables to the Battery of the Citroen Xsara Picasso?
In this tutorial, you will see how to connect the cables to the battery of the Citroen Xsara Picasso, useful if you need to recharge it or perform an emergency start. First, ensure the key is not inserted, then open the bonnet and move to the front of the left headlamp. Next, locate the bolt just behind the filter box and connect the positive terminal clamp to it. Now you can connect the negative terminal to any point on the chassis, such as the indicated point. Once the operation is complete, ensure you disconnect the negative first and then the positive. by ScegliAuto More videos
|
|
For advertising on this site Write to info@scegliauto.com
ScegliAuto is not responsible for any inaccuracy of the data in the lists. To report any inaccuracy or your business (if you own the business in question), please write to info@scegliauto.com
Number of seconds to generate the page: 0.089
(c) ScegliAuto 2026 - info@scegliauto.com - Privacy policy VAT number: IT01247470535 |
