
|
Do it yourself
| |||
| ||||


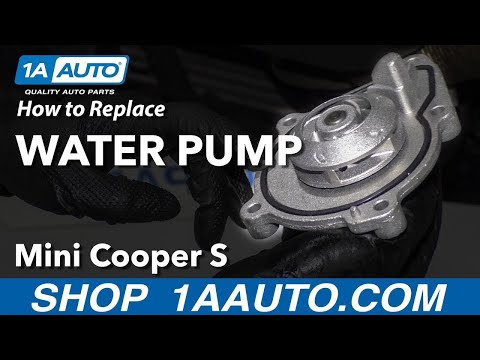
How to replace the water pump of the Mini Cooper.
In this guide, we will go over the main instructions on how to disassemble and replace the water pump of the Mini Cooper. To access the water pump, it is necessary to disassemble and remove the front bumper and the cooling radiator by unscrewing all the fastening screws and disconnecting the various hoses (allowing the coolant to drain); then we unscrew the fastening screws of the water pump in order to remove it, as shown in the video. At this point, we install the new original replacement part, securing it properly; we reassemble the radiator and make all the connections, topping up with the new coolant.
Posted on 24 December 2025 by ScegliAuto
Video tutorial
Related tutorials
Mini
(2001-2007 /
R53, R50, R52)
In this video we can see how to replace the water pump of a 2004 Mini Cooper. It is not a simple task: we have to remove the two front wheels, the fr…

Mini
(2007-2014 /
R55, R57, R56)
It will be possible to replace the water pump of the Mini by opening the hood to access the components inside the engine compartment: on the left sid…
Mini
(2007-2014 /
R55, R57, R56)
To replace the water pump of the Mini Cooper S r55, first remove the right front tire. Lift the vehicle and remove the wheel, then remove the bolts a…
Other guides you may be interested in
|
How to Replace the Bulbs on a Nissan Almera Rear Light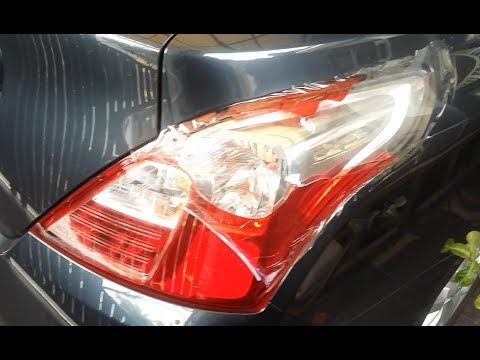
Do you want to change the damaged bulb of a rear light on a Nissan Almera? Follow this video carefully to proceed correctly. Open the boot, remove the fabric side covering, and detach the plastic rivets on the covering. Unscrew the retaining bolts of the rear light using a socket spanner. Once the light is free from the bolts, pull the rear light out of the metal housing, then disconnect the power cable. Place the stop light on a comfortable surface and replace all worn bulbs. To refit the rear light, position it in its housing and tighten all screws after reconnecting the lighting connector. by ScegliAuto More videos
|
|
For advertising on this site Write to info@scegliauto.com
ScegliAuto is not responsible for any inaccuracy of the data in the lists. To report any inaccuracy or your business (if you own the business in question), please write to info@scegliauto.com
Number of seconds to generate the page: 0.056
(c) ScegliAuto 2026 - info@scegliauto.com - Privacy policy VAT number: IT01247470535 |