
|
Do it yourself
| |||
| ||||


How to replace the third brake light on the Mini Cooper?
Model: Mini Mini
R53, R52, R50
- Years 2001-2007
Video tutorial
Detailed instructions - In this tutorial we can see how to replace the third brake light in the Mini Cooper, an extremely simple and quick operation. First of all, make sure that the key is not inserted, so that you can work in complete safety, then open the trunk door, locate the three screws indicated and unscrew them using a Torx T20 key. Then grab the taillight, pull it outwards, and, if necessary, use a plastic spatula to separate it from the body. At this point, all that remains is to disconnect the power connector and install the replacement following the reverse procedure.
Posted on 7 June 2025 by ScegliAuto
Related tutorials
Mini
(2007-2014 /
R56, R55, R57)
Let's see the instructions on how to reset the brake wear indicator light on the Mini Cooper, following these simple steps. It may sometimes be neces…
Mini
(2001-2007 /
R53, R52, R50)
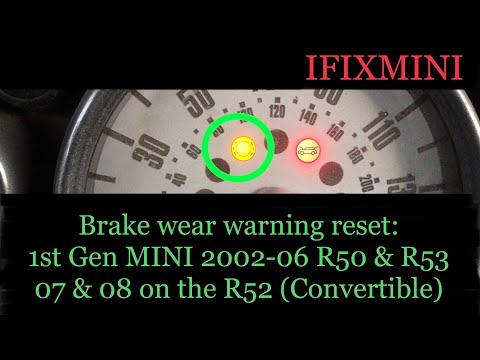
Follow these instructions to reset the brake pad wear light on your Mini Cooper. First, get inside the vehicle and keep the driver's door open; then …

Mini
(2017-2023 /
Countryman2, F60)
In order to reset the brake wear indicator light of the Mini Cooper, you first need to replace the excessively worn brake pads by disconnecting the c…
Other guides you may be interested in
|
How to Open the Fuel Filler Flap on a 2020 Hyundai i20
Today, you will learn the steps to open the fuel filler flap on a 2020 Hyundai i20. The steps to follow are: - Open the vehicle or turn off the engine if you are already in the vehicle; - Sit in the driver's seat; - Lift the lever located at the bottom left, near the pedal area; - Go to the flap; - Press on the flap; Once the flap is open, you can remove the cap and refuel the vehicle. Then close the cap and flap by pushing inward. Finally, start the vehicle and continue your journey. by ScegliAuto More videos
|
|
For advertising on this site Write to info@scegliauto.com
ScegliAuto is not responsible for any inaccuracy of the data in the lists. To report any inaccuracy or your business (if you own the business in question), please write to info@scegliauto.com
Number of seconds to generate the page: 0.183
(c) ScegliAuto 2026 - info@scegliauto.com - Privacy policy VAT number: IT01247470535 |
