
|
Do it yourself
| |||
| ||||


How to disassemble the onboard computer in the Mini Cooper?
Model: Mini Mini
R57, R55, R56
- Years 2007-2014
In this tutorial, we can see how to disassemble the on-board computer in the Mini Cooper, a very simple operation. First of all, make sure that the key is not inserted, then remove the clips located inside the upper air vent and, using a Torx T20 key, unscrew the two screws just released. Next, unclip the two side trims of the dashboard, unscrew the additional screws indicated, and remove the entire dashboard frame. At this point, we can unclip all the remaining plastic covers, disassemble the central console, unscrew the screws securing the on-board computer, and remove it from the housing.
Posted on 10 March 2024 by ScegliAuto
Video tutorial
Related tutorials
Mini
(2007-2014 /
R57, R55, R56)
It will be possible to change the clock on the Mini Cooper by turning on the instrument panel, inserting the ignition key into the corresponding slot…

Mini
(2007-2014 /
R57, R55, R56)
Today's guide will show us how to perform the IP test on the Mini Cooper, as well as on the Mini Countryman. First of all, we get into the car and st…

Mini
(2007-2014 /
R57, R55, R56)
To change the time on a Mini Cooper, turn on the instrument panel so that you can navigate through the options on the onboard computer. Press the BC …
Other guides you may be interested in
|
Removing the Timing Belt on a Suzuki Vitara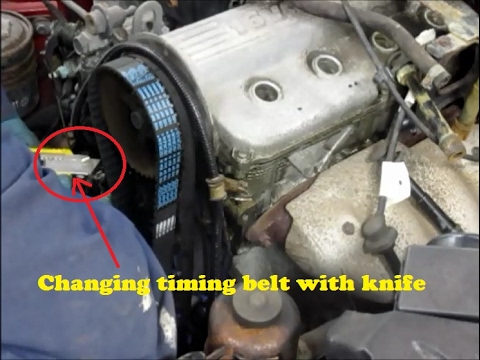
In this video, see the removal and replacement of the timing belt and water pump on a Suzuki Vitara. Open the bonnet and lift it, securing it in place. Use a socket wrench to remove the cooling radiator along with the associated hoses. Disconnect the power wiring using pliers, and remove the plastic undertray with a screwdriver. Use a spanner to loosen the tensioner pulley and slide the belt off its seat. Use a socket wrench to unscrew the tensioner pulley bolt, and remove the water pump as shown in the video. Fit the new water pump, the tensioner, and the belt itself, tightening everything with the socket wrench. Finally, reinstall the radiator with the securing bolts. by ScegliAuto More videos
|

|
For advertising on this site Write to info@scegliauto.com
ScegliAuto is not responsible for any inaccuracy of the data in the lists. To report any inaccuracy or your business (if you own the business in question), please write to info@scegliauto.com
Number of seconds to generate the page: 0.115
(c) ScegliAuto 2026 - info@scegliauto.com - Privacy policy VAT number: IT01247470535 |