
|
Do it yourself
| |||
| ||||


How to change the front turn signal bulb of the Nissan Micra K12
Model: Nissan Micra
K12
- Years 2002-2010
In this video, we will see how to change the side indicator bulb of the Nissan Micra K12. To do this operation, it is necessary to remove the black part of the bumper grille, which is held by plastic clips. We will use a flathead screwdriver to unlock them. But we must be careful, as these are rather fragile components. Once the grille is removed, we will have access to the housing that contains the bulb, which is held by three tabs. By pressing them, we push the housing outward to detach it. Disconnect the connector at the back, without losing the gasket. The bulb has a bayonet connection, so to remove it we must press and slightly rotate it counterclockwise. Follow the opposite direction to reassemble it and then reposition the bumper grille, reconnecting all the clips and pressing them until they are securely fixed. Perform a functionality test before storing the tools.
Posted on 26 August 2025 by ScegliAuto
Video tutorial
Related tutorials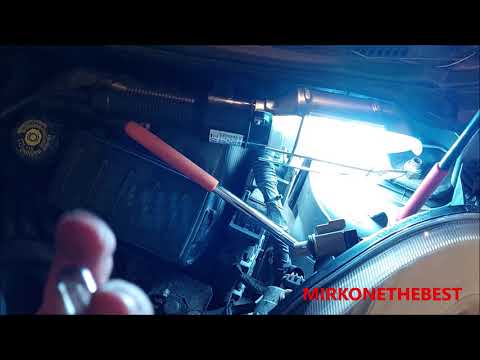
Nissan Micra
(2002-2010 /
K12)
Position lights are part of the eight mandatory lights present on every car. When one of them blows, it is important to know how to change it quickly…
Nissan Micra
(2002-2010 /
K12)
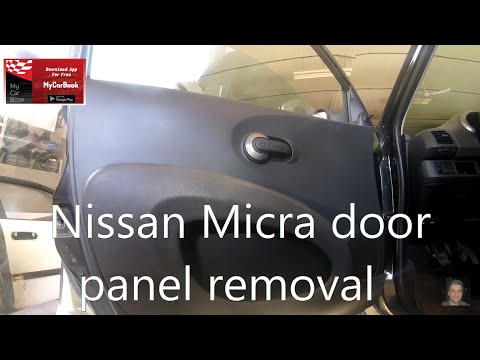
In today's video, see the steps to remove the front door panel from the Nissan Micra K12. First, open the front door and start by removing the plasti…

Nissan Micra
(2002-2010 /
K12)
In the video provided, we can study the fuse diagram for the Nissan Micra K12. Within it, we can see the total number of fuses present in our car, le…
Other guides you may be interested in
|
How to reset the tyre pressure warning light on the Dacia Sandero?
To reset the tyre pressure warning light on the Dacia Sandero, inflate all the tyres to the pressure indicated on the label on the driver's door. Once the tyres are inflated, turn on the ignition and navigate through the menu using the controls on the right side of the steering wheel. Scroll with the arrows to find the tyre pressure option: by holding down the OK button located on the right side of the steering wheel, you can reset the warning light. by ScegliAuto More videos
|
|
For advertising on this site Write to info@scegliauto.com
ScegliAuto is not responsible for any inaccuracy of the data in the lists. To report any inaccuracy or your business (if you own the business in question), please write to info@scegliauto.com
Number of seconds to generate the page: 0.764
(c) ScegliAuto 2026 - info@scegliauto.com - Privacy policy VAT number: IT01247470535 |
