
|
Do it yourself
| |||
| ||||


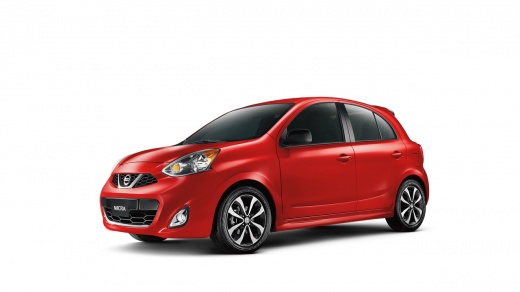
How to Replace the Car Radio in a Nissan Micra K13
Model: Nissan Micra
K13
- Years:
2010, 2011, 2012, 2013, 2014, 2015, 2016, 2017
Video tutorial
In this video tutorial, you can see how to replace the car radio in a Nissan Micra K13: to remove the car radio and replace it with a more modern one, first remove the centre console and then unscrew the radio screws; to remove the centre console, use trim removal tools to detach the side plastics (as shown in the video), being careful not to break the plastic. Once the side plastics are detached, you can remove the entire console; after removing the centre console, unscrew the screws and then pull the radio out towards you. Remove the brackets from the old radio, as they will be needed to install the new radio. Disconnect the connectors at the back of the radio. Install the new radio by reversing the steps.
Updated on 23 August 2026 by ScegliAuto
Related tutorials
Nissan Micra
(2010-2017 /
K13)
If you need to disassemble the entire protective panel located on the central dashboard of your Nissan Micra K13 by yourself, all you have to do is f…
Nissan Micra
(2010-2017 /
K13)
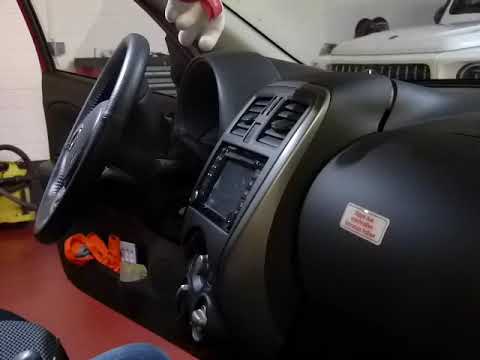
What to do if the radio no longer works? Follow these steps to remove the radio from a Micra. First, remove the plastic cover above the centre consol…
Nissan Micra
(2010-2017 /
K13)
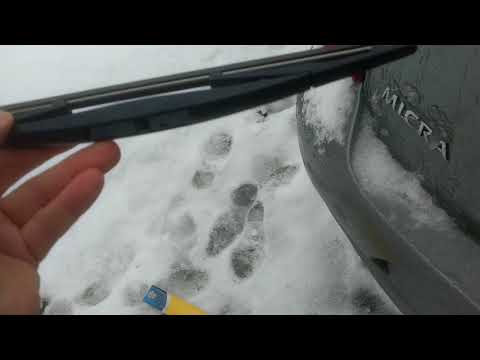
In this short video, you will see how to change the rear wiper blade on a Nissan Micra K13, third generation, in simple and quick steps. First, lift …
Other guides you may be interested in |
How to Replace the Glow Plugs in the Fiat Ducato 2.3 Multijet?
Glow plugs, as the name suggests, raise the temperature of the engine in diesel vehicles to allow for easier starting. The manufacturer, in this case, Fiat for the Ducato 2.3 Multijet, specifies how often they should be replaced, and a warning light will illuminate when it's time. This work is carried out under the bonnet. First, remove the upper engine cover, then lift the coil and, using a socket wrench of the appropriate size, unscrew the glow plug to remove it from the base, followed by installing the new one. by ScegliAuto More videos
|
For advertising on this site Write to info@scegliauto.com
ScegliAuto is not responsible for any inaccuracy of the data in the lists. To report any inaccuracy or your business (if you own the business in question), please write to info@scegliauto.com
Number of seconds to generate the page: 0.010
(c) ScegliAuto 2026 - info@scegliauto.com - Privacy policy VAT number: IT01247470535 |
