
|
Do it yourself
| |||
| ||||


How to Replace the Front Headlamp Bulb on the Renault Clio
Model: Renault Clio
Clio 2, MK 2
- Years 1998-2005
If you want to replace the main bulb of the front headlamp on your Renault Clio Mk2, simply follow the instructions in this mini guide. Before proceeding, remember that the entire operation should be carried out with the engine off and preferably with the car battery disconnected to ensure maximum safety. First, lift the front bonnet and locate the plastic cap inside the engine compartment corresponding to the headlamp in question. Remove it and then disconnect the connector. At this point, unclip and remove the old bulb, replace it with a new one, and reconnect the connector. Reposition the protective cap correctly and finally, lower the bonnet.
Updated on 8 May 2026 by ScegliAuto
Video tutorial
Related tutorials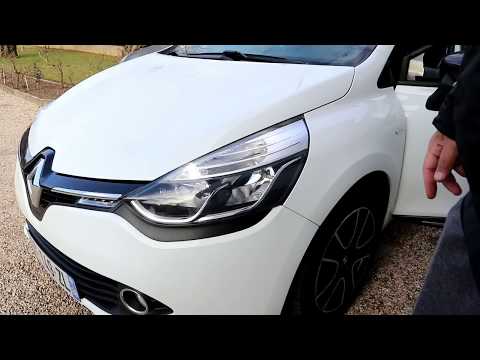
Renault Clio
(2012-2019 /
Clio IV, MK 4, Clio 4)
To replace the front headlamp bulb on the Renault Clio 4, open the bonnet and access the inside of the headlamp corresponding to the bulb to be repla…
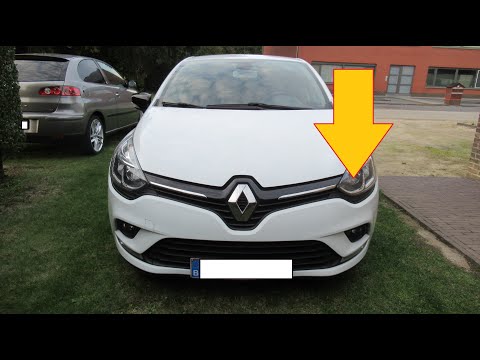
Renault Clio
(2012-2019 /
Clio IV, MK 4, Clio 4)
To replace the front headlamp bulb on a Renault Clio, open the bonnet to access the components in the engine bay. Locate the inner part of the headla…
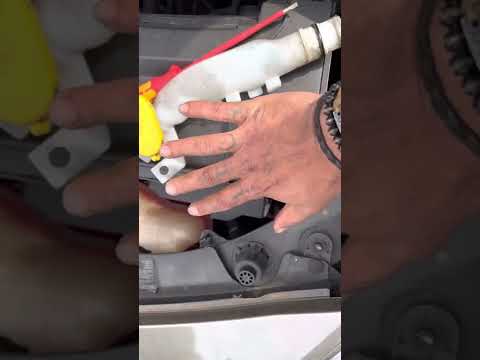
Renault Clio
(2005-2013 /
MK 3, Clio 3, Clio III)
To replace the front headlamp bulb on your Renault Clio 3, open the bonnet to access the components in the engine bay. Locate the protective cover of…
Other guides you may be interested in
|
How to Bleed the Clutch on a Renault Clio?
To bleed the clutch on a Renault Clio, open the bonnet to access the components located in the engine bay: here, you will need to undo the screws that secure the battery in its housing, the intake manifold, and the coolant reservoir. This will allow you to locate the pipe through which the brake fluid flows: by inserting the other end of the pipe into a container, you can press the clutch pedal to expel all the fluid until it fills the container. by ScegliAuto More videos
|
|
For advertising on this site Write to info@scegliauto.com
ScegliAuto is not responsible for any inaccuracy of the data in the lists. To report any inaccuracy or your business (if you own the business in question), please write to info@scegliauto.com
Number of seconds to generate the page: 0.222
(c) ScegliAuto 2026 - info@scegliauto.com - Privacy policy VAT number: IT01247470535 |
