
|
Do it yourself
| |||
| ||||


Replacing Front Headlamp Bulbs
Model: Renault Clio
Clio 2, MK 2
- Years 1998-2005
Replacing the front headlamp bulbs is quite simple as there is plenty of space behind the lamps and nothing needs to be disassembled; once you open the bonnet, remove the rubber cap from behind the bulb holder, disconnect the connector, and then unclip the spring clip that secures the bulb to the holder. Extract the old bulb and insert the new one, ensuring it is oriented correctly, secure it with the spring clip, and reconnect the connector. For the position light bulb, simply remove the old one and insert the new one (T10 fitting); for the main beam, remove the rubber cap and unclip the bulb holder by turning it anti-clockwise, extract the bulb and insert the new one, reattaching the bulb holder. Follow the same procedure for the indicator bulb, which has a bayonet fitting (press and then twist).
Updated on 15 February 2026 by ScegliAuto
Video tutorial
Related tutorials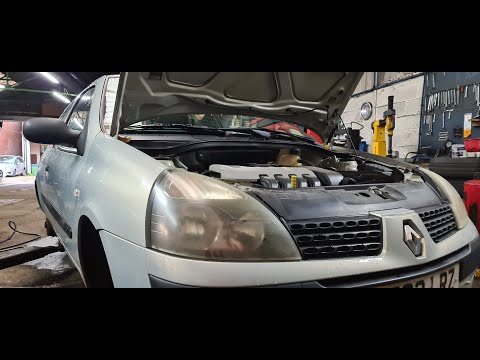
Renault Clio
(1998-2005 /
Clio 2, MK 2)
Are the front headlamp bulbs blown? Lift the front bonnet of the car and locate the back of the headlamp. Find the inspection cover and remove it. Pu…
Renault Clio
(2012-2019 /
Clio IV, MK 4, Clio 4)
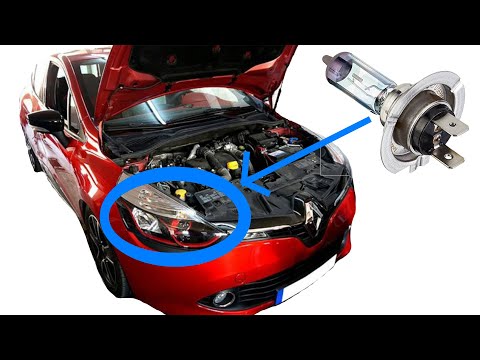
Want to replace the front headlamp bulbs? Here’s how to remove the bulbs from inside the front headlamp. Lift the front bonnet to access the headlamp…
Renault Clio
(2005-2013 /
MK 3, Clio 3, Clio III)
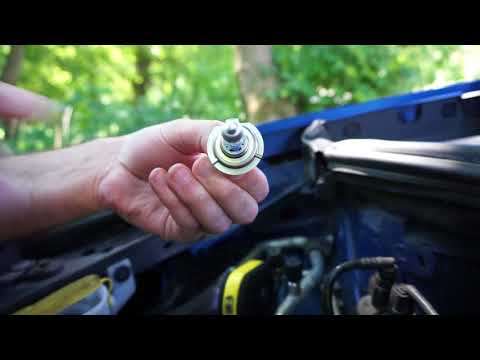
See how to remove the front headlamp bulbs on a Renault Clio. Open the bonnet by pulling the bonnet release lever and secure it. Remove the cap that …
Other guides you may be interested in
|
How to Bleed the Clutch on a Renault Clio?
To bleed the clutch on a Renault Clio, open the bonnet to access the components located in the engine bay: here, you will need to undo the screws that secure the battery in its housing, the intake manifold, and the coolant reservoir. This will allow you to locate the pipe through which the brake fluid flows: by inserting the other end of the pipe into a container, you can press the clutch pedal to expel all the fluid until it fills the container. by ScegliAuto More videos
|
|
For advertising on this site Write to info@scegliauto.com
ScegliAuto is not responsible for any inaccuracy of the data in the lists. To report any inaccuracy or your business (if you own the business in question), please write to info@scegliauto.com
Number of seconds to generate the page: 0.148
(c) ScegliAuto 2026 - info@scegliauto.com - Privacy policy VAT number: IT01247470535 |
