
|
Do it yourself
| |||
| ||||


How to replace the rear wheel bearing on a Smart 451
Model: Smart Smart
451
- Years 2007-2015
Here’s how to replace the rear wheel bearing on a Smart 451. First, lift the car; do not rely solely on your jack, use a hydraulic jack and two axle stands instead. Remove the wheel. Take out the T30 screw from the hub; the central nut is a 16. If the central cover does not come off easily, spray it generously with WD-40, let it sit, then use a hammer and chisel to remove the cover. You can find the new part on eBay with the code 323977680705 for £64.00. Since it includes the hub, it is a bit easier to replace. The tricky part is keeping the driveshaft in place; otherwise, you won't be able to unscrew the four bolts securing the hub. Replace the bearing, applying copper grease; secure it with the new bolt and refit the wheel. Job done.
Updated on 22 June 2026 by ScegliAuto
Video tutorial
Related tutorials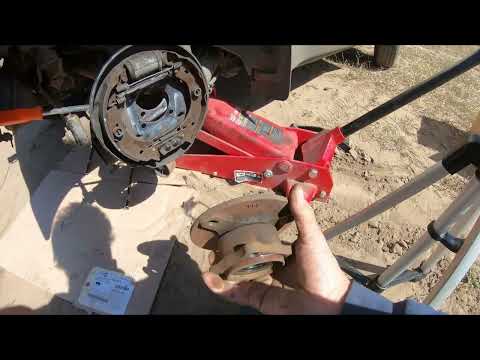
Smart
(1998-2007 /
450)
To replace the rear wheel bearing on the Smart Fortwo, lift the car using a jack and then loosen the bolts that secure the rear wheel to its housing.…
Smart
(1998-2007 /
450)
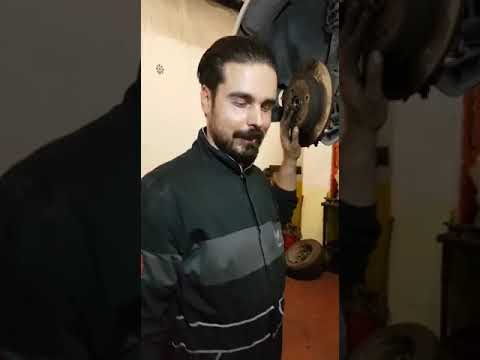
To replace the rear wheel bearing on a Smart 450, lift the car with a jack or ramp so that the corresponding wheel is not in contact with the ground.…
Smart
(2007-2015 /
451)
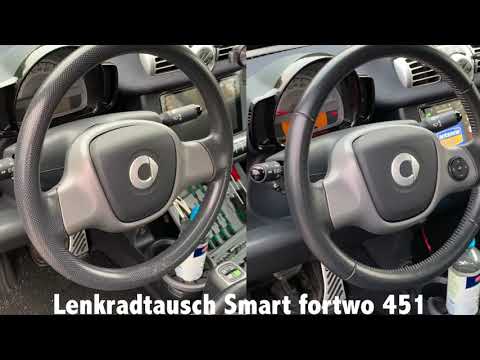
To remove the steering wheel from the Smart 451, loosen the bolts located at the lower rear of the steering wheel to free the airbag in the centre. O…
Other guides you may be interested in
|
Frequently Asked QuestionsHow to Connect the Cables to the Battery of the Citroen Xsara Picasso?
In this tutorial, you will see how to connect the cables to the battery of the Citroen Xsara Picasso, useful if you need to recharge it or perform an emergency start. First, ensure the key is not inserted, then open the bonnet and move to the front of the left headlamp. Next, locate the bolt just behind the filter box and connect the positive terminal clamp to it. Now you can connect the negative terminal to any point on the chassis, such as the indicated point. Once the operation is complete, ensure you disconnect the negative first and then the positive. by ScegliAuto More videos
|
|
For advertising on this site Write to info@scegliauto.com
ScegliAuto is not responsible for any inaccuracy of the data in the lists. To report any inaccuracy or your business (if you own the business in question), please write to info@scegliauto.com
Number of seconds to generate the page: 0.718
(c) ScegliAuto 2026 - info@scegliauto.com - Privacy policy VAT number: IT01247470535 |
