
|
Do it yourself
| |||
| ||||


Tata Tata Various - Fuse boxFuse Box Tata Tata Various ( / ) Tata Tata Various
 Diagram and Location of the Fuse Boxes of the Tata Harrier This guide provides information on accessing the fuse boxes of the Tata Harrier, including the diagram and layout. First, open the passenger side front door …Read all… Posted on 11 March 2026 by ScegliAuto 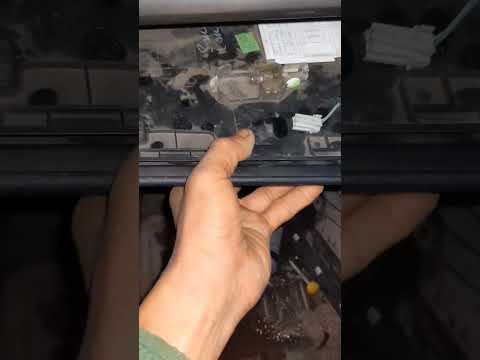 Tata Tata Various
 Where is the Fuse Box on the Tata Harrier? If you own a Tata Harrier, you must know the exact location of all the various fuses to intervene quickly and effectively in case of electrical faults or …Read all… Posted on 21 September 2026 by ScegliAuto  Tata Tata Various
 What is the fuse diagram for the Tata Punch? If one of the devices in your Tata Punch has suddenly stopped working, the first thing to do is check the status of the respective fuses, the diagrams for …Read all… Posted on 13 September 2026 by ScegliAuto 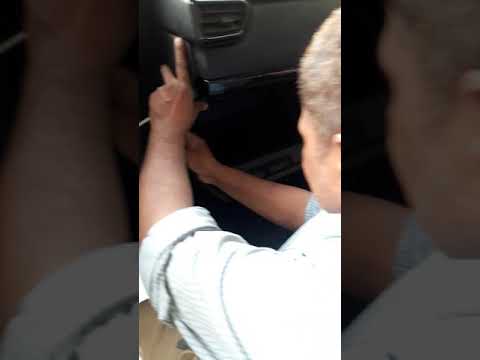 Tata Tata Various
 Where is the Fuse Box Located on the Tata Harrier? In this guide for all Tata Harrier owners, you will discover where the car's fuse box is located. This will allow you to intervene directly and quickly on …Read all… Posted on 25 July 2026 by ScegliAuto Transmission (1) Key (4) Dashboard (1) Tail light (1) Air filter (2) Cabin air filter (1) Diesel fuel filter (1) Headlight bulb (2) Engine oil (2) Fuse box (4) Warning light – error code (1) (2) Service warning light (6) Cylinder head (1) |
How to Connect the Cables to the Battery of the Citroen Xsara Picasso?
In this tutorial, you will see how to connect the cables to the battery of the Citroen Xsara Picasso, useful if you need to recharge it or perform an emergency start. First, ensure the key is not inserted, then open the bonnet and move to the front of the left headlamp. Next, locate the bolt just behind the filter box and connect the positive terminal clamp to it. Now you can connect the negative terminal to any point on the chassis, such as the indicated point. Once the operation is complete, ensure you disconnect the negative first and then the positive. by ScegliAuto More videos
|
|
For advertising on this site Write to info@scegliauto.com
ScegliAuto is not responsible for any inaccuracy of the data in the lists. To report any inaccuracy or your business (if you own the business in question), please write to info@scegliauto.com
Number of seconds to generate the page: 0.010
(c) ScegliAuto 2026 - info@scegliauto.com - Privacy policy VAT number: IT01247470535 |
