
|
Do it yourself
| |||
| ||||


Position and Diagram of Internal Fuses for Volkswagen Golf
Model: Volkswagen Golf
MK 6, Golf VI, Golf 6, 5K1
- Years 2008-2012
This brief overview provides information on the positioning and diagram of the internal fuse box for the Volkswagen Golf. First, open the driver's side front door and start removing the plastic cover located under the light switch, at the bottom left; inside you will find the fuses, as shown in the video. Usually, the diagram and the fuse layout are found inside the cover, but can also be found in the vehicle's user and maintenance manual; here you will find the amperages and the fuse codes, replacing any faulty fuses with new ones.
Posted on 6 July 2026 by ScegliAuto
Video tutorial
Related tutorials
Volkswagen Golf
(2003-2008 /
MK 5, Golf 5, Golf V)
Today we will look at the information regarding the location and diagram of the internal fuse box for the Volkswagen Golf. First, open the driver's s…
Volkswagen Golf
(2008-2012 /
MK 6, Golf VI, Golf 6, 5K1)
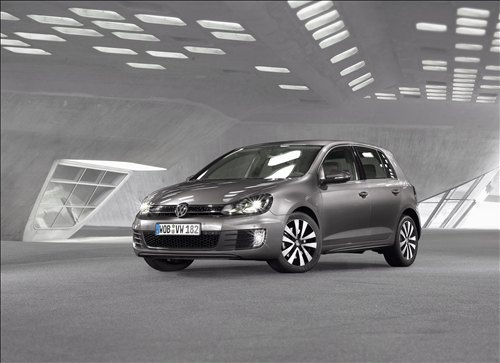
In this tutorial video, see the diagram and positioning of the fuse boxes in a Volkswagen Golf by following the instructions below. First, locate the…

Volkswagen Golf
(2003-2008 /
MK 5, Golf 5, Golf V)
The following steps will show us the positioning of the internal fuse box of the Volkswagen Golf, also including the fuse diagram and chart. First, w…
Other guides you may be interested in
|
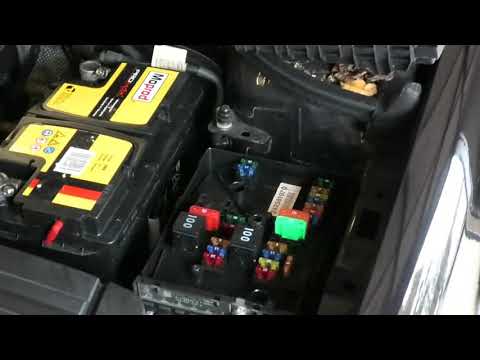
Frequently Asked QuestionsHow to Connect the Cables to the Battery of the Citroen Xsara Picasso?
In this tutorial, you will see how to connect the cables to the battery of the Citroen Xsara Picasso, useful if you need to recharge it or perform an emergency start. First, ensure the key is not inserted, then open the bonnet and move to the front of the left headlamp. Next, locate the bolt just behind the filter box and connect the positive terminal clamp to it. Now you can connect the negative terminal to any point on the chassis, such as the indicated point. Once the operation is complete, ensure you disconnect the negative first and then the positive. by ScegliAuto More videos
|
|
For advertising on this site Write to info@scegliauto.com
ScegliAuto is not responsible for any inaccuracy of the data in the lists. To report any inaccuracy or your business (if you own the business in question), please write to info@scegliauto.com
Number of seconds to generate the page: 0.343
(c) ScegliAuto 2026 - info@scegliauto.com - Privacy policy VAT number: IT01247470535 |
