
|
Do it yourself
| |||
| ||||


How to Replace the Fuel Filler Flap of a Volkswagen Golf
Model: Volkswagen Golf
Golf 5, MK 5, Golf V
- Years:
2003, 2004, 2005, 2006, 2007, 2008
Video tutorial
As the first step, open the fuel flap and unscrew the cap of the fuel filler neck. Just below the flap closure hook, there is a screw to unscrew. This way, you can easily pull the edge you just unscrewed with your hands. Be careful with the gasket present, and with great care, continue with the extraction of the flap. Once removed, you can make the necessary replacements. Now, retrace the steps described in reverse for reassembling the various components, and you're done!
Updated on 25 February 2026 by ScegliAuto
Related tutorials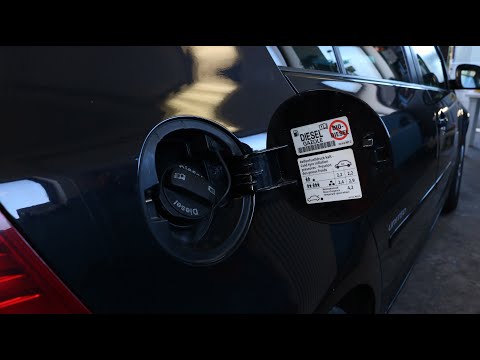
Volkswagen Golf
(2003-2008 /
Golf 5, MK 5, Golf V)
To open the fuel flap on a Volkswagen Golf 5, press the designated button inside the cabin, located at the rear of the glove compartment on the drive…

Volkswagen Golf
(2008-2012 /
Golf 6, MK 6, 5K1, Golf VI)
To open the fuel filler flap of a Volkswagen Golf, you must first unlock the car's locks with the key. Once the locks are released, head to the fuel …

Volkswagen Golf
(2012-2019 /
MK 7, Golf 7, Golf VII)
In today's tutorial video, you will learn how to remove and replace the fuel flap and cap on the Volkswagen Golf. First, move to the side and open th…
Other guides you may be interested in |
How to enter the radio code in the Opel Zafira?
In the Opel Zafira, it may happen that the radio locks and consequently requests the appropriate security code, especially after disconnecting or replacing the battery. The code can be found in the documents provided at purchase or through one of the various online recovery services. Once obtained, enter it by following the procedure shown in this tutorial. First, switch on the instrument panel, then press and hold both the "AS" button and the left knob for about 5 seconds. Next, enter the first digit by repeatedly pressing the "1" button, continue with the next 3 buttons, and save the setting by pressing the "AS" button again. by ScegliAuto More videos
|
|
For advertising on this site Write to info@scegliauto.com
ScegliAuto is not responsible for any inaccuracy of the data in the lists. To report any inaccuracy or your business (if you own the business in question), please write to info@scegliauto.com
Number of seconds to generate the page: 0.019
(c) ScegliAuto 2026 - info@scegliauto.com - Privacy policy VAT number: IT01247470535 |
