
|
Do it yourself
| |||
| ||||


How to replace the shock absorber support of the Audi A3 MK1
In this video, we can see how to replace the shock absorber support of the Audi A3 MK1: we start by unscrewing the wheel bolts, then lifting the car and removing the wheels. We can now clean the shock absorber mounting elements, then support the arm with a hydraulic jack, in order to remove the upper shock absorber support, and then remove the entire component. Once we have the shock absorber on the bench, we clean the rod with a wire brush and WD-40, unscrew the fixing screw and remove the support, dust cover, and bumper; these are all accessories that will easily need to be replaced together with the support. Screw them onto the shock absorber at 25 Nm, and then reposition it with a torque of 30.9 Nm. Once it is securely in place, we can remove the hydraulic jack, remount the wheel and lower the car.
Posted on 12 July 2025 by ScegliAuto
Video tutorial
Related tutorials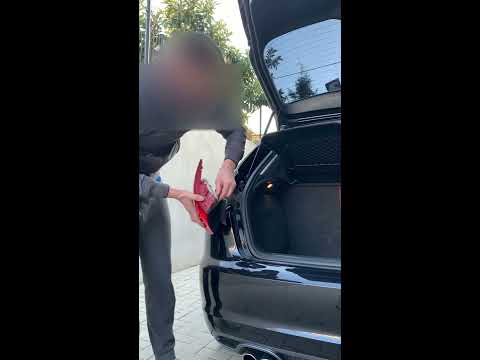
Audi A3
(2003-2013 /
MK 2, 8P)
In this tutorial, we can see how to replace the rear light bulb of an Audi A3 car. Lift the trunk door, remove the plastic covers, and unscrew the co…
Audi A3
(2003-2013 /
MK 2, 8P)
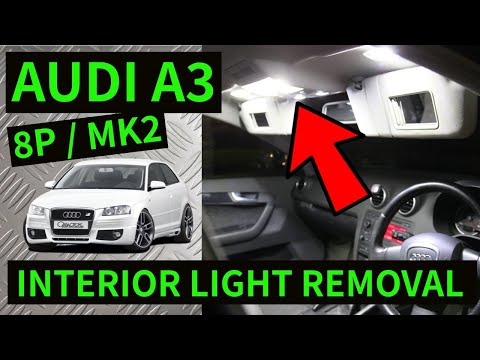
In order to replace the bulbs of the interior lights of the Audi A3 you have to use an object that acts as a lever to be able to detach the central c…

Audi A3
(2003-2013 /
MK 2, 8P)
Today we will explain how to replace the air filter of the Audi A3 diesel model mk2 on your own. To replace the filter, we need to open the front hoo…
Other guides you may be interested in
|
How to Dismantle the Heating Radiator on a Mini Cooper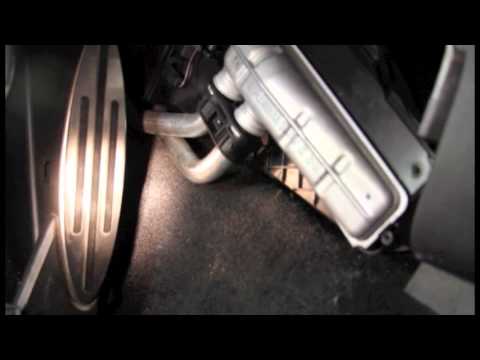
Let’s see how to dismantle the heating radiator on a Mini Cooper. First, remove the plastic cover of the centre tunnel (located under the centre tunnel on the left). Unscrew the securing screws with a screwdriver, and remove the black plastic cover that hides the heating radiator. Once all the described operations are completed, move to the engine bay: remove the plastic engine cover and disconnect the two hoses (unscrew the securing clips if present) of the radiator that goes into the cabin, allowing the fluid to drain. Disconnect the radiator from the pipes inside the cabin. Work in reverse for all the assembly steps. by ScegliAuto More videos
|
|
For advertising on this site Write to info@scegliauto.com
ScegliAuto is not responsible for any inaccuracy of the data in the lists. To report any inaccuracy or your business (if you own the business in question), please write to info@scegliauto.com
Number of seconds to generate the page: 0.050
(c) ScegliAuto 2026 - info@scegliauto.com - Privacy policy VAT number: IT01247470535 |