
|
Do it yourself
| |||
| ||||


How to remove the fog light on an Audi A3
Model: Audi A3
MK 2, 8P
- Years 2003-2013
Let's see how to remove the fog light with attached bulb mounted on an Audi A3. Let's get ready to disassemble the side fog light placed on the bumper: unscrew the tightening screws inside the plastic covering the spotlight with a suitable screwdriver; we remove with a lever the same from the bumper. Once the plastic has been removed, unscrew the screws of the spotlight and extract it from the car's bumper (disconnect the power connector). We assemble the new piece with a new bulb attached (same size and voltage). We test the correct functioning of the same after assembly.
Posted on 23 January 2020 by ScegliAuto
Video tutorial
Related tutorials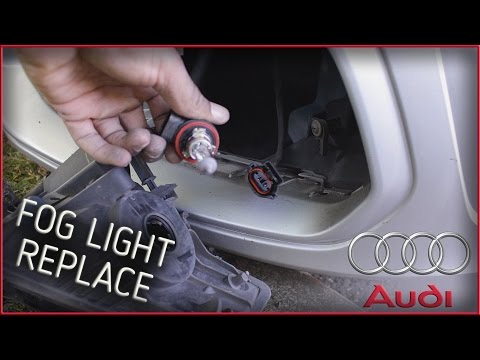
Audi A3
(2012-2019 /
MK 3, 8V)
Does our car's fog light show no signs of working? Let's see the dismantling of the fog light bulb on A3. We unhook and open the plastic cover placed…
Audi A3
(2003-2013 /
MK 2, 8P)
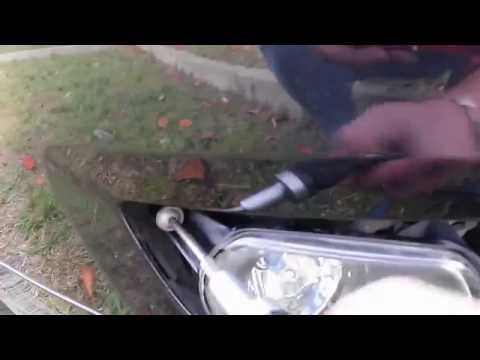
In this video, we see how the low position of the fog light of the Audi A3 exposes it to impacts. If the light were to break after a contact, we see …

Audi A3
(2003-2013 /
MK 2, 8P)
In this video we can see how to replace a fog light on an Audi A3 8P: the youtuber shows us how he did the operation, after replacing the part. In pr…
Other guides you may be interested in |
How to Replace the Gear Shift Gaiter of the Honda CR-V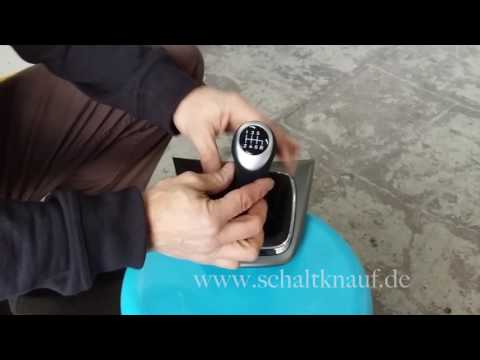
You can purchase an aftermarket gear shift cover complete with a knob, made of leather with coloured stitching. The disassembly is quite straightforward: start by unscrewing the gear shift knob by twisting it. Next, detach the trim at the base of the gear lever by prying along the edges. Then, remove the chrome trim that holds the gaiter in place, peeling off the leather edges from the plastic support. Apply new double-sided adhesive to the plastic tabs to insert and stick the edges of the new gaiter, securing it with the chrome trim. Finally, fit the gaiter complete with the knob onto the gear lever, securing it with the appropriate screws and reattaching the trim to the tunnel support. by ScegliAuto More videos
|

|
For advertising on this site Write to info@scegliauto.com
ScegliAuto is not responsible for any inaccuracy of the data in the lists. To report any inaccuracy or your business (if you own the business in question), please write to info@scegliauto.com
Number of seconds to generate the page: 0.065
(c) ScegliAuto 2026 - info@scegliauto.com - Privacy policy VAT number: IT01247470535 |