
|
Do it yourself
| |||
| ||||


What does the "Code 82" message indicate in the Chevrolet Orlando and how to remove it?
Model: Chevrolet Orlando
MK 1
- Years 2011-2016
If the "Code 82" message appears on the dashboard of your Chevrolet Orlando, it means that the service interval in miles or time has been reached. Once all scheduled maintenance tasks are completed, you can remove the warning by following the simple procedure shown in this tutorial. First, insert the key and turn on the ignition, then press the "MENU" button located on the left control stalk and navigate to the screen displaying the "Reset" option. At this point, press the "SET/CLR" button at the end of the same stalk and confirm the reset.
Updated on 11 August 2026 by ScegliAuto
Video tutorial
Related tutorials
Chevrolet Orlando
(2011-2016 /
MK 1)
To easily locate the fuse box in your 2014 Chevrolet Orlando in just a few seconds, follow the steps outlined in this guide. First, park your Chevrol…
Chevrolet Orlando
(2011-2016 /
MK 1)
Before starting, disconnect the battery of your Chevrolet Orlando to work safely. Sit in the driver's seat and turn the steering wheel. Next, unscrew…
Chevrolet Orlando
(2011-2016 /
MK 1)
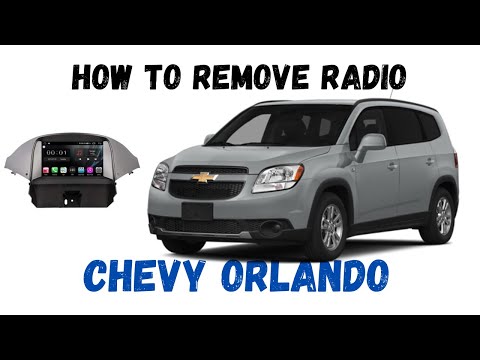
Before you can start, sit in the driver's seat of your Chevrolet Orlando. Begin by prying out and removing the radio trim along with the air vents. N…
Other guides you may be interested in
|
Frequently Asked QuestionsHow to Connect the Cables to the Battery of the Citroen Xsara Picasso?
In this tutorial, you will see how to connect the cables to the battery of the Citroen Xsara Picasso, useful if you need to recharge it or perform an emergency start. First, ensure the key is not inserted, then open the bonnet and move to the front of the left headlamp. Next, locate the bolt just behind the filter box and connect the positive terminal clamp to it. Now you can connect the negative terminal to any point on the chassis, such as the indicated point. Once the operation is complete, ensure you disconnect the negative first and then the positive. by ScegliAuto More videos
|
For advertising on this site Write to info@scegliauto.com
ScegliAuto is not responsible for any inaccuracy of the data in the lists. To report any inaccuracy or your business (if you own the business in question), please write to info@scegliauto.com
Number of seconds to generate the page: 0.531
(c) ScegliAuto 2026 - info@scegliauto.com - Privacy policy VAT number: IT01247470535 |
