
|
Do it yourself
| |||
| ||||


|
Model: Enfield Classic 500
In this brief guide, learn how to remove and replace the rear indicator bulbs on the Royal Enfield Classic 500 motorcycle. First, place your motorcycle on its stand and begin unscrewing the two fixing screws of the rear indicator light using a cross-head screwdriver; then remove the small gasket and subsequently the bulb by pressing and twisting it, as illustrated in the video. At this point, install the new bulb with the same fitting; then reassemble the light unit and repeat the same procedure to replace the other indicator!
Updated on 18 July 2026 by ScegliAuto
This video is currently unavailable
Related tutorials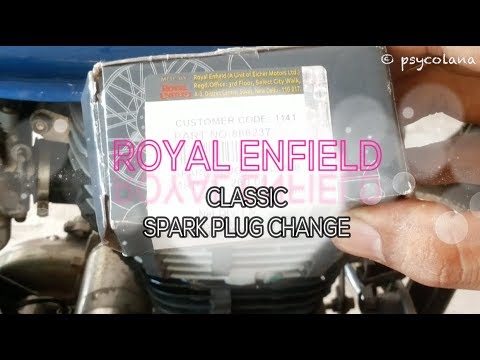
Classic 500
Before you begin, position your Royal Enfield Classic 500 vertically. Start by disconnecting the spark plug lead from the spark plug itself. Next, us…

Classic 500
In this tutorial, you will learn how to replace the front headlamp on the Royal Enfield Classic 500, a task that is extremely simple and quick. First…

Classic 500
It will be possible to replace the muffler of the Royal Enfield Classic 500 by loosening the screws that fix it to its housing, on the right side of …
|
How to replace the headlight bulbs on a Suzuki GSXR 600?
In this tutorial, you will see how to replace the headlight bulbs on a Suzuki GSXR 600, an extremely simple and quick operation. First, ensure that the key is not inserted, then unscrew the two indicated screws and separate the dashboard from the support. Next, disconnect the power connectors of the bulbs, remove the rubber caps, and unclip the metal clips to extract the bulbs from their respective housings. At this point, you can insert the replacements, avoiding touching the glass directly with your bare hands, and follow the reverse procedure. by ScegliAuto More videos
|
|
For advertising on this site Write to info@scegliauto.com
ScegliAuto is not responsible for any inaccuracy of the data in the lists. To report any inaccuracy or your business (if you own the business in question), please write to info@scegliauto.com
Number of seconds to generate the page: 0.008
(c) ScegliAuto 2026 - info@scegliauto.com - Privacy policy VAT number: IT01247470535 |
