
|
Do it yourself
| |||
| ||||


How to Fix Rear Lights That Illuminate Like a Christmas Tree
Model: Fiat Punto
MK 3, Punto EVO, 199, Grandepunto
- Years 2005-2018
The issue of rear lights randomly illuminating is caused by a poor ground contact, common to all bulbs. The lamp socket has a single ground wire (negative) for all lights. Over time, the connector oxidises, creating resistance to current flow. This resistance prevents the current from discharging to ground correctly; it seeks alternative paths (like leaks) through other bulbs, causing erratic lighting: the indicator lights the stop, the position lights flash, etc. The definitive solution is to bypass the ground. Instead of just cleaning the connector, which is a temporary fix, create a safer alternative path for the ground by opening the lamp holder and locating the ground point. Solder an additional wire directly onto this track, and at the other end of the wire, solder a male spade connector. Remove the original ground wire from the car connector and effectively replace it with the new wire, connecting the spade to the connector, then insulate everything with heat-shrink tubing. Now the ground current has a direct and clean path, bypassing the oxidised connector point.
Posted on 15 March 2026 by ScegliAuto
Video tutorial
Related tutorials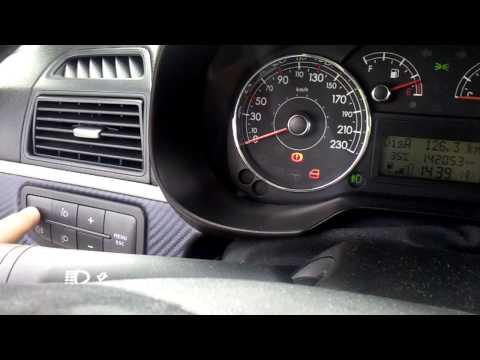
Fiat Punto
(2005-2018 /
MK 3, Punto EVO, 199, Grandepunto )
In this brief and simple guide, follow the steps to activate and deactivate the fog lights, both front and rear, of the Fiat Grande Punto, as well as…
Fiat Punto
(1999-2011 /
MK 2, 188)
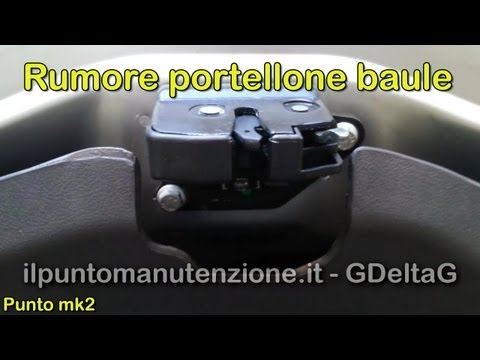
The following guide illustrates how to resolve the noise issue in the boot lid. Unscrew the two screws and then simply pull. You may notice that the …

Fiat Punto
(2005-2018 /
MK 3, Punto EVO, 199, Grandepunto )
The video shows how to carry out this simple maintenance operation to replace the lights that illuminate the rear number plate or simply replace them…
Other guides you may be interested in |
How to Open a Stuck Boot on the Peugeot 407?
On the Peugeot 407, the boot may become stuck, possibly due to a problem with the control button or the lock actuator. In such cases, you can perform an emergency opening by following the simple procedure shown in this tutorial. First, open the rear doors, then lower the seat back by operating the release lever. Next, go inside the boot, locate the lock, and manually operate it using a flathead screwdriver. The boot will then be free to open. by ScegliAuto More videos
|
|
For advertising on this site Write to info@scegliauto.com
ScegliAuto is not responsible for any inaccuracy of the data in the lists. To report any inaccuracy or your business (if you own the business in question), please write to info@scegliauto.com
Number of seconds to generate the page: 0.159
(c) ScegliAuto 2026 - info@scegliauto.com - Privacy policy VAT number: IT01247470535 |
