
|
Do it yourself
| |||
| ||||


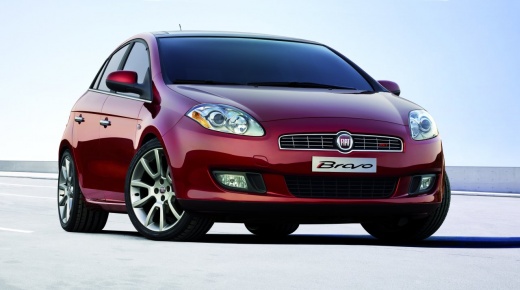
Replacing Front Headlamp Bulb on Fiat Bravo
Model: Fiat Bravo
Bravo 2
- Years:
2007, 2008, 2009, 2010, 2011, 2012, 2013, 2014
Video tutorial
Work with the key removed and the handbrake engaged. Lift the bonnet and insert the support rod. Remove the round rubber cover located behind the headlamp and disconnect the connector. At this point, simply unclip the small metal clip holding the bulb in place to extract it. To insert the new bulb you purchased, proceed in reverse: insert the bulb, secure it with the metal clip, and reconnect the connector. Finally, replace the rear rubber cover. If you wish, you can replace the original bulbs with LEDs, as shown in the video.
Updated on 3 April 2026 by ScegliAuto
Related tutorials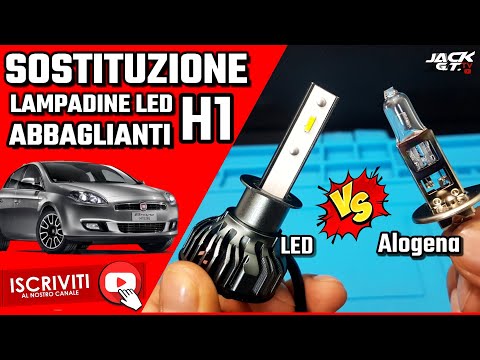
Fiat Bravo
(2007-2014 /
Bravo 2)
This guide outlines the main steps to remove the front headlamp bulb on the Fiat Bravo and replace it with an LED type. First, remove the headlamp fr…
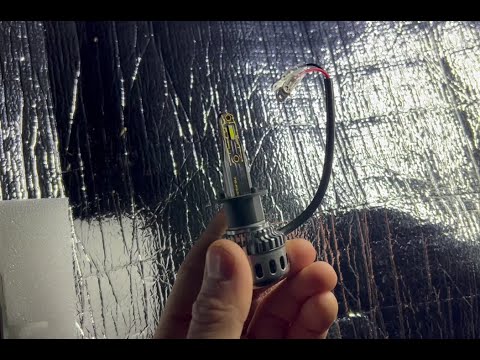
Fiat Bravo
(2007-2014 /
Bravo 2)
This guide will show you how to remove and replace the front headlamp bulb on the Fiat Bravo; this operation is done with the headlamp removed. First…
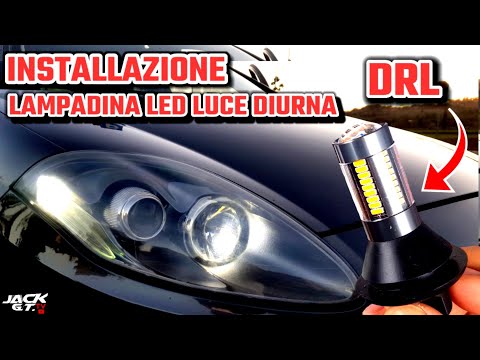
Fiat Bravo
(2007-2014 /
Bravo 2)
To replace the front headlamp bulb on the Fiat Bravo, open the bonnet to access the components inside the engine bay. Locate the protective circular …
Other guides you may be interested in |
How to Reset the Tyre Pressure Warning Light on the Opel Mokka?
To reset the tyre pressure warning light on the Opel Mokka, turn on the ignition by inserting the key into the ignition switch. Once the ignition is on, navigate through the menu that appears on the dashboard by pressing the MENU button on the lever to the left of the steering wheel. When the tyre pressure option appears, press and hold the SET/CLR button located on the same lever. This will reset the warning light, and you can then turn off the ignition. by ScegliAuto More videos
|
|
For advertising on this site Write to info@scegliauto.com
ScegliAuto is not responsible for any inaccuracy of the data in the lists. To report any inaccuracy or your business (if you own the business in question), please write to info@scegliauto.com
Number of seconds to generate the page: 0.087
(c) ScegliAuto 2026 - info@scegliauto.com - Privacy policy VAT number: IT01247470535 |
