
|
Do it yourself
| |||
| ||||


Fiat Bravo - Video tutorial
Model: Fiat Bravo
Bravo 2
- Years 2007-2014 In this video tutorial we can see how it is possible to install the led lights of the exterior mirrors on the Fiat bravo. These led lights are also called "cat's eyes" and are ultra slim led lights at 3 watts and 12 Volt, cold white in color, with the purpose of increasing the lighting around the car. The first thing to do will be to remove the cap, support of the exterior mirrors and then we have to make a hole in the cap, so we have to pass the cable inside the door. Once you have made the hole in the mirror cap, you need to install the LED lights in the caps. Next step we have to remove the inner triangle-shaped cover of the exterior mirrors and we have to connect the connectors, then pull the cable back by passing it through the hole where the cap was present; now connect the led light wire to the connector with some tape, and let it pass through the hole and into the passenger compartment. Put the cap back into the mirror. Now we need to disassemble the panel to take the power supply for our led light.
Posted on 8 July 2022 by ScegliAuto
 How to replace the led courtesy lights on a Fiat Bravo?
Fiat Bravo (2007-2014 / Bravo 2) This video tutorial will explain how to change the courtesy lights (therefore those inside the passenger compartment) in our Fiat Bravo. First of all 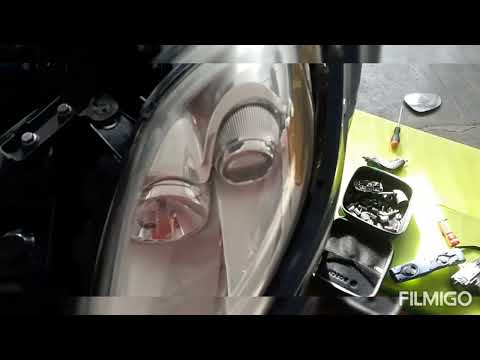 How to mount the H1 led bulbs on Fiat Bravo
Fiat Bravo (2007-2014 / Bravo 2) In this video tutorial we are going to see how to mount H1 led bulbs on Fiat Bravo. Raise the hood, remove the round rubber cover located behind the 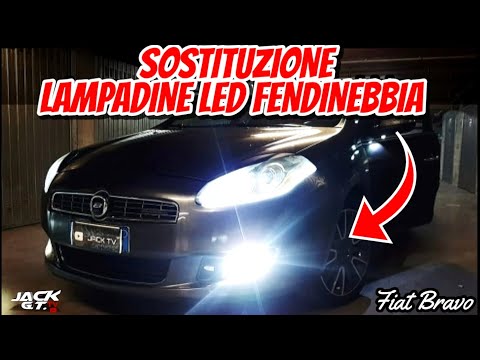 How to replace the fog light bulbs on a Fiat Bravo?
Fiat Bravo (2007-2014 / Bravo 2) Watching this video tutorial, we will find out how to replace the halogen fog light bulbs with led ones (H11) on our Fiat Bravo. To carry out this ty Other guides that may interest you |
How to set the time in the Citroen DS3?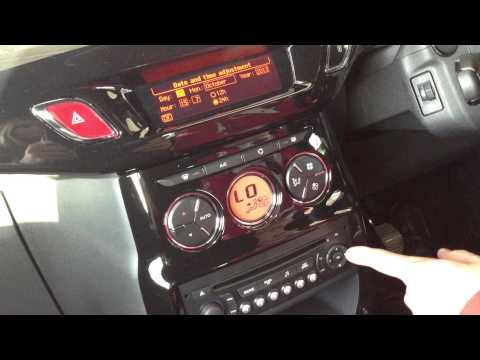
In this tutorial we can see how to set the time in the Citroen DS3, an extremely simple and fast operation, to be carried out for example after being left with the battery on the ground or following the transition to winter and summer time. First of all, turn on the instrument panel, then press the "Menu" button on the center console and enter the settings section. Then select "Display configuration", then "Date and time configuration" and proceed with the time change using the same keys. Once finished, we select "OK" at the bottom left. by ScegliAuto More videos
|
|
For advertising on this site Write to info@scegliauto.com
ScegliAuto is not responsible for any inaccuracy of the data in the lists. To report any inaccuracy or your business (if you own the business in question), please write to info@scegliauto.com
Number of seconds to generate the page: 0.026
(c) ScegliAuto 2024 - info@scegliauto.com - Privacy Policy VAT number: IT01247470535 |