
|
Do it yourself
| |||
| ||||



How to Reset the Tyre Pressure Light on a Toyota Yaris Cross
Model: Toyota Yaris Cross
MK 1
- Years:
2020, 2021, 2022, 2023, 2024, 2025, 2026
Video tutorial
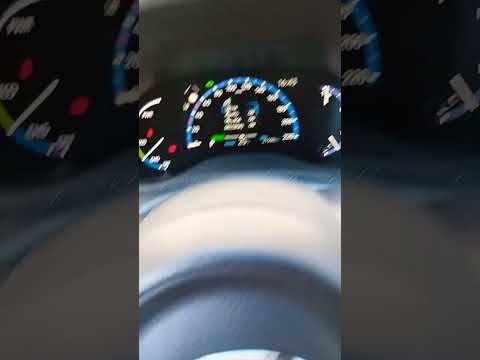
To reset the tyre pressure light, first check the pressure of all the tyres. Then, turn on the dashboard without starting the car. Press the button with the right arrow until you reach the gear icon screen; use the down arrow to navigate to 'vehicle settings' and press the 'ok' button to confirm. Next, use the down arrow to go to 'TPWS setting' and press 'ok' to confirm. Then, navigate to 'wheel identification and position' and press 'ok' to confirm. The light will flash slowly four times and then stay on for about ten minutes. If the light goes off after ten minutes, the operation is complete, and you can turn off the dashboard (it may take a few miles for a total reset). If the light does not go off, it is advisable to seek assistance.
Updated on 29 May 2026 by ScegliAuto
Related tutorials
Toyota Yaris Cross
(2020-2026 /
MK 1)
In this tutorial we can see how to reset the tire pressure light in the Toyota Yaris Cross, an extremely simple and quick operation, to be performed …

Toyota Yaris Cross
(2020-2026 /
MK 1)
To reset the tyre pressure warning light on the Toyota Yaris Cross, turn on the ignition and navigate through the menu displayed on the instrument cl…
Toyota Yaris Cross
(2020-2026 /
MK 1)
To reset the tyre pressure warning light on the Toyota Yaris Cross, turn on the instrument panel and then use the directional arrows on the left stee…
Other guides you may be interested in
|
How to Remove the Rear Seat of a Hyundai Tucson?
To remove the rear seat of a Hyundai Tucson, follow these steps. Start by moving the front seats to their most forward position to gain space. Next, locate the release lever on the underside of the rear seat, near the floor. Press this lever down while pulling the seat upwards to unlock it from the anchor pins. Once unlocked, tilt the seat upwards and forwards to remove it from its position. Repeat this process for both sides of the rear seat. Be careful of any electrical cables or components that may be connected to the seat during removal. Once the rear seat is removed, the disassembly is complete. by ScegliAuto More videos
|
For advertising on this site Write to info@scegliauto.com
ScegliAuto is not responsible for any inaccuracy of the data in the lists. To report any inaccuracy or your business (if you own the business in question), please write to info@scegliauto.com
Number of seconds to generate the page: 0.023
(c) ScegliAuto 2026 - info@scegliauto.com - Privacy policy VAT number: IT01247470535 |
