
|
Do it yourself
| |||
| ||||


Removing the Front Wheel Arch
Model: Fiat Punto
MK 1, 176
- Years 1993-1999
In the bodywork of cars, the wheel arch refers to each of the four cavities in the shell, carved into the floor, which serve to cover the wheel while allowing vertical movement caused by bumps and stones. For the front wheels, these arches must be wide enough to allow steering. These cavities are then covered by a plastic cover. To facilitate the removal of the front wheel arches, it is suggested to remove the front wheels to gain more manoeuvring space when removing the fastening screws (if possible, lift the vehicle on a hydraulic lift). Once all the fastening screws have been removed, take off the plastic cover from its seat. At this point, you can also access the fastening screws of the bumper and proceed with its removal.
Updated on 13 February 2026 by ScegliAuto
Video tutorial
Related tutorials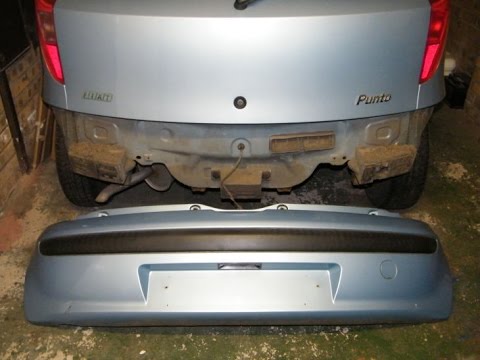
Fiat Punto
(1999-2011 /
MK 2, 188)
Removing the rear bumper is very simple and does not require special tools or advanced skills. It is advisable to position the vehicle on a lift and …
Fiat Punto
(1999-2011 /
MK 2, 188)
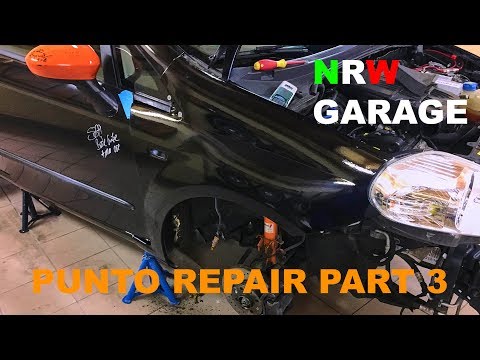
In this video, see the main instructions on how to remove and replace the front wing on a Fiat Grande Punto, following the steps outlined below. Firs…

Fiat Punto
(1999-2011 /
MK 2, 188)
First, release the bonnet using the appropriate lever in your vehicle. Then, lift it and secure it with the prop rod. Now, remove the bolts indicated…
Other guides you may be interested in
|
How to Connect the Cables to the Battery of the Citroen Xsara Picasso?
In this tutorial, you will see how to connect the cables to the battery of the Citroen Xsara Picasso, useful if you need to recharge it or perform an emergency start. First, ensure the key is not inserted, then open the bonnet and move to the front of the left headlamp. Next, locate the bolt just behind the filter box and connect the positive terminal clamp to it. Now you can connect the negative terminal to any point on the chassis, such as the indicated point. Once the operation is complete, ensure you disconnect the negative first and then the positive. by ScegliAuto More videos
|
|
For advertising on this site Write to info@scegliauto.com
ScegliAuto is not responsible for any inaccuracy of the data in the lists. To report any inaccuracy or your business (if you own the business in question), please write to info@scegliauto.com
Number of seconds to generate the page: 0.082
(c) ScegliAuto 2026 - info@scegliauto.com - Privacy policy VAT number: IT01247470535 |
