
|
Do it yourself
| |||
| ||||


Gasgas Txt Pro 250 - Video guides Gasgas Txt Pro 250
 How do you replace the rear shock absorber of the GasGas TXT Pro 250? To replace the rear shock absorber of the GasGas TXT Pro 250, you need to loosen the screws that secure it to its housing, which is located between the rear …Read all… Posted on 14 December 2025 by ScegliAuto  Gasgas Txt Pro 250
 How do you replace the front fork spring on the GasGas TXT Pro 250? In order to replace the front fork spring on the GasGas TXT Pro 250, you need to loosen the cover cap located on the top of the front fork: once this cover is …Read all… Posted on 15 July 2025 by ScegliAuto  Gasgas Txt Pro 250
 How do you remove the engine of the GasGas TXT Pro 250? In order to remove the GasGas TXT Pro 250 engine, you need to loosen the screws that secure the motorcycle seat to its housing, so that it can be completely …Read all… Posted on 27 December 2024 by ScegliAuto 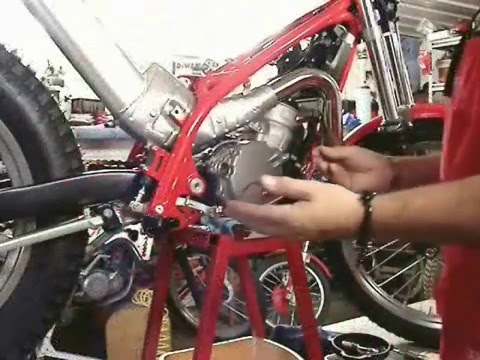 Gasgas Txt Pro 250
 How to replace the clutch on the GasGas TXT Pro 250? To replace the clutch on the GasGas TXT Pro 250, loosen the screws securing the cover on the right side of the bike to access the clutch discs underneath. The …Read all… Posted on 22 August 2026 by ScegliAuto 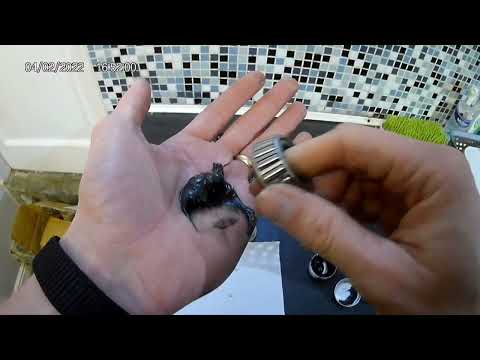 Gasgas Txt Pro 250
 How to Replace the Steering Bearing on a GasGas TXT Pro 250? To replace the steering bearing on a GasGas TXT Pro 250, completely disassemble the front fork so that it can be removed from the front of the frame along with …Read all… Posted on 18 July 2026 by ScegliAuto  Gasgas Txt Pro 250
 How to Replace the Clutch on a GasGas TXT Pro 250? To replace the clutch on a GasGas TXT Pro 250, loosen the screws securing the cover on the right side of the bike so that it can be removed, giving access to …Read all… Posted on 9 July 2026 by ScegliAuto |
How to Replace the External Wing Mirror on a Ford C MAX
In the event of a breakage, it will be necessary to replace the external wing mirror on the 2011 Ford C MAX. This operation is easily performed independently. Start by removing the internal cover of the mirror with a plastic lever. Then, use a socket wrench to remove the securing pins. Once the pins are removed, you can take off the mirror, but not before disconnecting the power connectors. Then proceed to fit the new mirror. First, connect the connectors and then secure the mirror to its housing with the pins. Refit the plastic cover and test the operation of the electric mirror using the controls. by ScegliAuto More videos
|
|
For advertising on this site Write to info@scegliauto.com
ScegliAuto is not responsible for any inaccuracy of the data in the lists. To report any inaccuracy or your business (if you own the business in question), please write to info@scegliauto.com
Number of seconds to generate the page: 0.007
(c) ScegliAuto 2026 - info@scegliauto.com - Privacy policy VAT number: IT01247470535 |
