
|
Do it yourself
| |||
| ||||


How to disassemble the factory radio of the Hyundai I20 MK1
Model: Hyundai I20
MK 1, PB
- Years 2008-2014
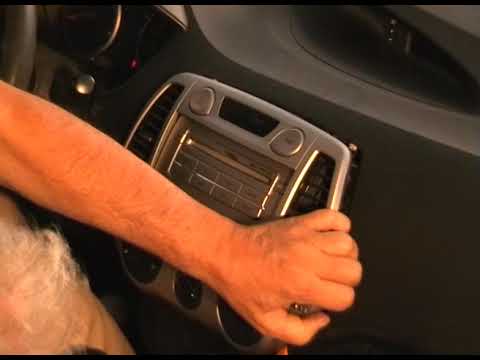
In this video we can see how to remove the factory radio from the Hyundai I20 MK1; this radio also includes the air conditioning controls in its body. It is a job that starts from afar, as we must begin by removing the glove compartment, starting from the screws that hold the compartment, at the top, and then we can remove the side panel where there are two more screws. At this point the entire compartment comes off and we remember to disconnect the connector of the glove compartment light. Now we see a green and a black cable entering inside and ending with metal rings. We must pull them out with pliers and only then, with a plastic spatula, we can work on the front of the radio. Now that the cables are disconnected, we can lever on the sides of the chrome part and pull towards us the part with the air conditioning controls, being careful to disconnect the three cables attached at the top and two more at the bottom. Once this frame is removed, there will be only four screws to remove to take out the actual stereo, and its own connectors at the back.
Posted on 28 December 2024 by ScegliAuto
Video tutorial
Related tutorials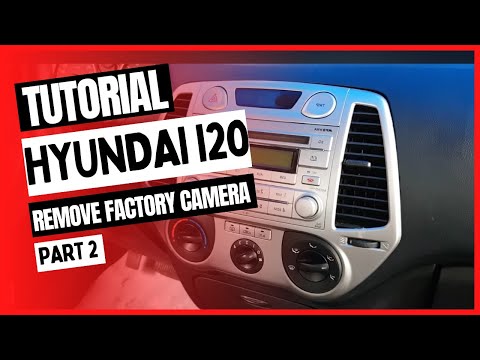
Hyundai I20
(2008-2014 /
MK 1, PB)
To independently remove the stock radio fitted in your Hyundai i20 PB, follow the steps described in this mini guide. Before starting, ensure the car…
Hyundai I20
(2008-2014 /
MK 1, PB)
Before starting, sit in the driver's seat of your Hyundai i20. Begin by prying off the radio trim using a thin but sturdy tool, preferably plastic, t…
Hyundai I20
(2008-2014 /
MK 1, PB)
Is the car radio in your Hyundai damaged? Here’s how to remove it from the dashboard. Remove the stereo trim with a plastic lever (where the air vent…
Other guides you may be interested in
|
How to Connect the Cables to the Battery of the Citroen Xsara Picasso?
In this tutorial, you will see how to connect the cables to the battery of the Citroen Xsara Picasso, useful if you need to recharge it or perform an emergency start. First, ensure the key is not inserted, then open the bonnet and move to the front of the left headlamp. Next, locate the bolt just behind the filter box and connect the positive terminal clamp to it. Now you can connect the negative terminal to any point on the chassis, such as the indicated point. Once the operation is complete, ensure you disconnect the negative first and then the positive. by ScegliAuto More videos
|
|
For advertising on this site Write to info@scegliauto.com
ScegliAuto is not responsible for any inaccuracy of the data in the lists. To report any inaccuracy or your business (if you own the business in question), please write to info@scegliauto.com
Number of seconds to generate the page: 0.196
(c) ScegliAuto 2026 - info@scegliauto.com - Privacy policy VAT number: IT01247470535 |
