
|
Do it yourself
| |||
| ||||



When to Change the Timing Chain on a Hyundai Ix35 1.7 Diesel
Model: Hyundai ix35
MK 1
- Years:
2009, 2010, 2011, 2012, 2013, 2014, 2015
Video tutorial
If your car is a Hyundai Ix35 1.7 and you are wondering when to change the timing chain, you will be very pleased with my answer. The timing chain should be changed every 75,000 miles or 6 years of use, but your car does not have a timing belt! That's right, you heard correctly. The only Ix35 model with a timing belt is the one with a 2.0-litre engine; all others have a timing CHAIN, not a belt! And this chain, does it ever need changing? Not really, but it lasts much, much longer! Generally, it should be changed at 186,000 miles, but it is recommended to take the car to your trusted mechanic at 155,000 miles to check the condition of your engine.
Updated on 9 April 2026 by ScegliAuto
Related tutorials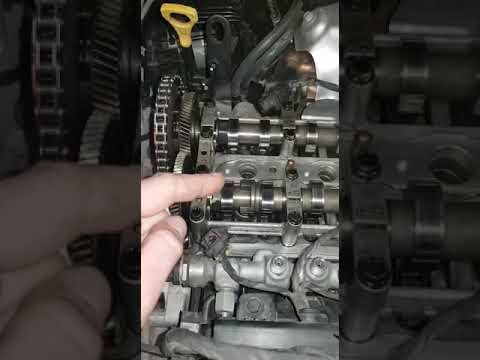
Hyundai ix35
(2009-2015 /
MK 1)
In this video, you will see how to change the timing chain on a Hyundai IX35. The rocker cover and the timing cover, which is sealed with a high-stre…

Hyundai ix35
(2009-2015 /
MK 1)
When the TPMS light illuminates on a Hyundai IX35, it means you need to adjust the tyre pressure. To adjust the pressure, you will need a pressure ga…
Hyundai ix35
(2009-2015 /
MK 1)
To reset the Service light on a Hyundai Ix35, first replace the engine oil. Once this operation is complete, enter the cabin to reset the light. Turn…
Other guides you may be interested in
|
How to Replace the Glow Plugs in the Fiat Ducato 2.3 Multijet?
Glow plugs, as the name suggests, raise the temperature of the engine in diesel vehicles to allow for easier starting. The manufacturer, in this case, Fiat for the Ducato 2.3 Multijet, specifies how often they should be replaced, and a warning light will illuminate when it's time. This work is carried out under the bonnet. First, remove the upper engine cover, then lift the coil and, using a socket wrench of the appropriate size, unscrew the glow plug to remove it from the base, followed by installing the new one. by ScegliAuto More videos
|
For advertising on this site Write to info@scegliauto.com
ScegliAuto is not responsible for any inaccuracy of the data in the lists. To report any inaccuracy or your business (if you own the business in question), please write to info@scegliauto.com
Number of seconds to generate the page: 0.033
(c) ScegliAuto 2026 - info@scegliauto.com - Privacy policy VAT number: IT01247470535 |
