
|
Do it yourself
| |||
| ||||



Tips for Changing the Timing Chain on a Hyundai IX35
Model: Hyundai ix35
MK 1
- Years:
2009, 2010, 2011, 2012, 2013, 2014, 2015
Video tutorial
In this video, you will see how to change the timing chain on a Hyundai IX35. The rocker cover and the timing cover, which is sealed with a high-strength sealant, have been removed. It is not necessary to remove the oil sump, as it is lower than the chain and does not interfere with the work. Unfortunately, the injector screws can break, so it is advisable to pre-loosen them before unscrewing. Naturally, the rocker cover gasket and the injector washers must be replaced. Also, replace the screws, even if they did not break during removal, as they have likely sustained mechanical damage; be very careful when refitting the chain to align it correctly, otherwise, you will not know which of the false links should be in the right place.
Updated on 22 September 2026 by ScegliAuto
Related tutorials
Hyundai ix35
(2009-2015 /
MK 1)
Replacing the timing belt on your Hyundai iX35 requires particular attention but can be done independently. Just follow the steps outlined in this mi…
Hyundai ix35
(2009-2015 /
MK 1)
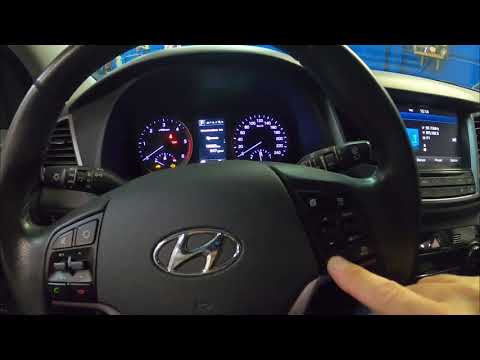
Before you start, sit in the driver's seat of your Hyundai IX35. Begin by activating the instrument panel by pressing the ignition button. Next, repe…

Hyundai ix35
(2009-2015 /
MK 1)
In this guide, you will find all the steps to manually reset the tyre pressure light on your Hyundai IX35. First, ensure that the tyres are inflated …
Other guides you may be interested in |
How to Replace the Glow Plugs in the Fiat Ducato 2.3 Multijet?
Glow plugs, as the name suggests, raise the temperature of the engine in diesel vehicles to allow for easier starting. The manufacturer, in this case, Fiat for the Ducato 2.3 Multijet, specifies how often they should be replaced, and a warning light will illuminate when it's time. This work is carried out under the bonnet. First, remove the upper engine cover, then lift the coil and, using a socket wrench of the appropriate size, unscrew the glow plug to remove it from the base, followed by installing the new one. by ScegliAuto More videos
|
For advertising on this site Write to info@scegliauto.com
ScegliAuto is not responsible for any inaccuracy of the data in the lists. To report any inaccuracy or your business (if you own the business in question), please write to info@scegliauto.com
Number of seconds to generate the page: 0.089
(c) ScegliAuto 2026 - info@scegliauto.com - Privacy policy VAT number: IT01247470535 |
