
|
Do it yourself
| |||
| ||||


Model: Kawasaki Zx14r
Hello everyone! Today, you will learn how to access the dipped beams on a Kawasaki Zx14R. To replace the dipped beams, the first and most important thing you need to do is remove the upper side panel that prevents access to these bulbs. Once done, you can disconnect the connector and remove the dipped beam bulb, which you will then replace. If you want to replace the entire headlight, you will need to unscrew the two front bolts (it is quite complex to reach) and remove two other side fairings.
Updated on 19 April 2026 by ScegliAuto
Video tutorial
Related tutorials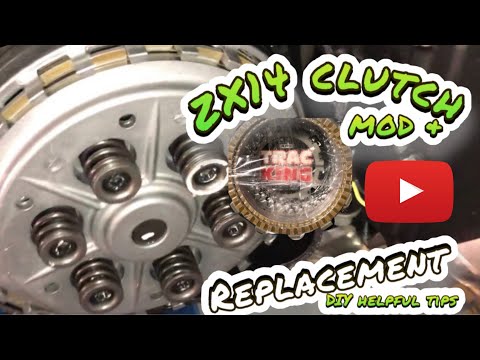
Zx14r
To replace the clutch on the Kawasaki ZX14R, loosen the screws securing the cover on the right side of the bike. Once these screws are loosened, you …
|
How to Replace the Tyres on the Husaberg FE 450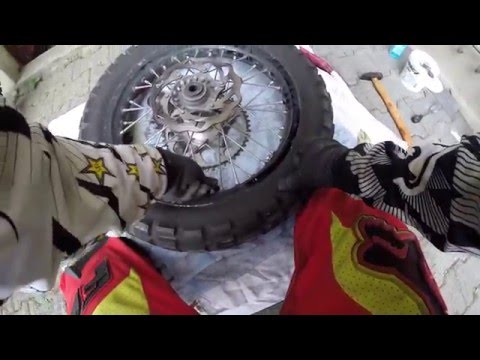
In this guide, follow the instructions to remove and replace the tyres on the Husaberg FE 450 enduro bike. First, place the bike on a stand and lift the wheel off the ground; then, undo the bolts securing the brake caliper to remove it, as shown in the video. Next, unscrew the central axle of the wheel, removing the tyre from the rim (deflating it and using levers); then install the new tyre, ensuring it has the correct dimensions, following the video tutorial to the end! by ScegliAuto More videos
|
|
For advertising on this site Write to info@scegliauto.com
ScegliAuto is not responsible for any inaccuracy of the data in the lists. To report any inaccuracy or your business (if you own the business in question), please write to info@scegliauto.com
Number of seconds to generate the page: 0.006
(c) ScegliAuto 2026 - info@scegliauto.com - Privacy policy VAT number: IT01247470535 |
