
|
Do it yourself
| |||
| ||||


Model: Kawasaki Z650
To remove the fuel tank from the Kawasaki Z650, you need to detach the side panels located next to the tank. Once these side panels are removed, proceed to remove the seat to access the screws that secure the tank at the front. When all the screws securing the tank are visible, loosen them so the tank can be lifted; before completely removing it, disconnect the connectors and hoses underneath.
Updated on 28 July 2026 by ScegliAuto
Video tutorial
Related tutorials
Z650
In order to replace the air filter of the Kawasaki Z650, you need to loosen the screws that secure the fuel tank to its housing: once these screws ha…

Z650
Today, you will discover step-by-step instructions for performing routine maintenance on the Kawasaki Z650 by replacing the engine oil and oil filter…

Z650
The following steps will show us the procedure for replacing the engine coolant of the Kawasaki Z650. First, we put the motorcycle on the stand and s…
|
How to Replace the Air Filter on a Harley Davidson Dyna?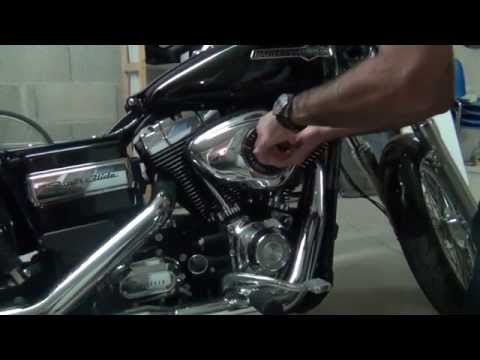
To replace the air filter on a Harley Davidson Dyna, loosen the screws securing the cover located on the right side of the bike, just below the fuel tank. Once the cover is removed, you will locate the filter underneath: it must be removed from its housing by unscrewing the fastening screws and sliding it out from its compartment. After the old filter has been removed, position the new replacement part, securing it in place with the screws and covering everything with the cover. by ScegliAuto More videos
|
|
For advertising on this site Write to info@scegliauto.com
ScegliAuto is not responsible for any inaccuracy of the data in the lists. To report any inaccuracy or your business (if you own the business in question), please write to info@scegliauto.com
Number of seconds to generate the page: 0.006
(c) ScegliAuto 2026 - info@scegliauto.com - Privacy policy VAT number: IT01247470535 |
