
|
Do it yourself
| |||
| ||||



How to Remove and Replace the Clutch Cable on a Kia Picanto
Model: Kia Picanto
MK 2, TA
- Years:
2011, 2012, 2013, 2014, 2015, 2016, 2017, 2018
Video tutorial
Today, we will go through the main instructions on how to remove the clutch cable from a Kia Picanto. First, open the bonnet of the vehicle and locate the clutch cable situated low down on the gearbox; the sheathed cable will need to be disconnected from the adjuster by unscrewing the nut with a spanner, as shown in the video. At this point, disconnect the clutch cable from the pedal, pulling it out from the engine bay; replace the sheathed cable with the new original one, and finally, make the correct adjustment of the clutch tension.
Posted on 15 August 2026 by ScegliAuto
Related tutorials
Kia Picanto
(2011-2018 /
MK 2, TA)
The instructions in this guide will illustrate how to remove and replace the clutch cable on the Kia Picanto. First, open the vehicle's bonnet and lo…

Kia Picanto
(2011-2018 /
MK 2, TA)
This guide provides the main instructions on how to remove and replace the clutch cable on the Kia Picanto 1.0 in simple steps. First, open the vehic…

Kia Picanto
(2004-2011 /
2A, MK 1)
This guide provides the main instructions on how to adjust the clutch cable on a Kia Picanto. First, open the bonnet and locate the clutch cable situ…
ScegliAuto offers an extensive international collection of automotive tutorials available in 12 languages. Each guide combines instructional videos with original explanations written by experienced human editors, along with information about the car models covered.
Other guides you may be interested in
|
What does the "Code 82" message indicate in the Chevrolet Orlando and how to remove it?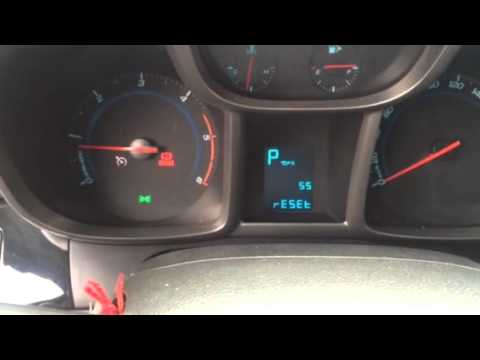
If the "Code 82" message appears on the dashboard of your Chevrolet Orlando, it means that the service interval in miles or time has been reached. Once all scheduled maintenance tasks are completed, you can remove the warning by following the simple procedure shown in this tutorial. First, insert the key and turn on the ignition, then press the "MENU" button located on the left control stalk and navigate to the screen displaying the "Reset" option. At this point, press the "SET/CLR" button at the end of the same stalk and confirm the reset. by ScegliAuto More videos
|
|
For advertising on this site Write to info@scegliauto.com
ScegliAuto is not responsible for any inaccuracy of the data in the lists. To report any inaccuracy or your business (if you own the business in question), please write to info@scegliauto.com
Number of seconds to generate the page: 0.024
(c) ScegliAuto 2026 - info@scegliauto.com - Privacy policy - About us VAT number: IT01247470535 |
