
|
Do it yourself
| |||
| ||||


How to change the battery and shell of a Kia/Hyundai car remote?
Model: Kia KIA Various
Video tutorial
Let's see how to change the battery and the shell of a Kia/Hyundai remote: to change the battery, open the small cover on the back of the remote. Inside, you will find a common CR2032 button battery, which is easily available at any electronics store or supermarket. Be careful with the polarity when changing it, close it up, and you're done. To replace the shell (which can be found on Amazon with code B0C4JWTPTB for £12.99 with free delivery), remove the screw located under the Kia/Hyundai logo with a star screwdriver; separate the two halves of the key, disassemble the key's spring mechanism by turning it two turns clockwise to release the tension. Pay close attention to how the components are arranged before disassembling them, perhaps by taking a photo. When reassembling, ensure to give the spring two turns clockwise. Transfer the electronic board, reinsert the battery, and close it with its screw under the logo. That's it.
Posted on 29 September 2026 by ScegliAuto
Related tutorials
Kia KIA Various
Today, we will explain how to replace the shell of the Kia key fob. Start by lifting the key and inserting a flat-head screwdriver into the side hole…

Kia KIA Various
In this video, you will see how to change the battery in a Kia key fob: First, remove the security key from its housing. You can do this by gently pr…

Kia KIA Various
Today we will explain how to replace the battery of a key belonging to the Kia group. To perform this simple operation independently, we must first m…
ScegliAuto offers an extensive international collection of automotive tutorials available in 12 languages. Each guide combines instructional videos with original explanations written by experienced human editors, along with information about the car models covered.
Other guides you may be interested in
|
How to Reset the Tire Pressure Light on the Land Rover Range Rover Evoque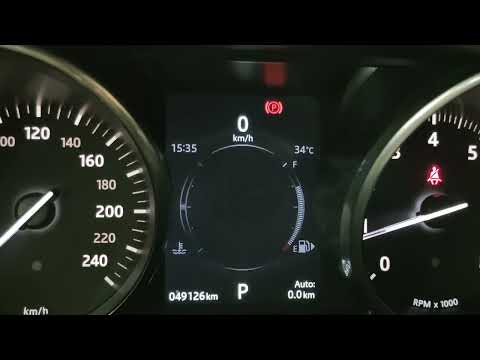
Today, let's go through the steps to reset the tire pressure light on the Land Rover Range Rover Evoque. First, get in the vehicle and turn on the ignition; then navigate to the settings on the onboard computer and select the tire pressure option to view the values, as shown in the video. At this point, restore the correct pressure in all four tires to clear the tire pressure warning light that appears on the instrument cluster! by ScegliAuto More videos
|
|
For advertising on this site Write to info@scegliauto.com
ScegliAuto is not responsible for any inaccuracy of the data in the lists. To report any inaccuracy or your business (if you own the business in question), please write to info@scegliauto.com
Number of seconds to generate the page: 0.164
(c) ScegliAuto 2026 - info@scegliauto.com - Privacy policy - About us VAT number: IT01247470535 |
