
|
Do it yourself
| |||
| ||||


How to Remove and Replace a Wheel Bearing on a Mazda 6
In this video, we will see how to remove a wheel bearing from a Mazda 6. Position your car on a column lift, loosen the bolts with a socket wrench, and lift it to a preferred height. Unscrew the bolts and remove the wheel. Next, start unscrewing the bolts of the caliper bracket and detach it. Unscrew the bolts of the brake disc and detach it from the wheel hub. Then, using pliers or a screwdriver, remove the central hub cap. Loosen the large bolt with a suitable socket wrench and remove the piece. Remove the wheel hub from the car with the upper bolt and slide out the bearing. Install the bearing onto the wheel hub and reassemble everything in reverse order.
Updated on 25 February 2026 by ScegliAuto
Video tutorial
Related tutorials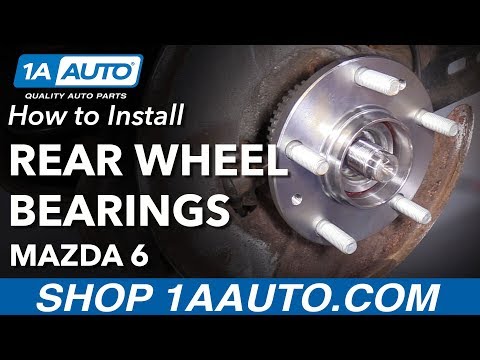
Mazda 6
(2002-2008 /
MK 1, GG)
In this video, see how to remove the wheel bearing from a Mazda 6. First, position your car on a column lift, loosen the bolts with a telescopic span…
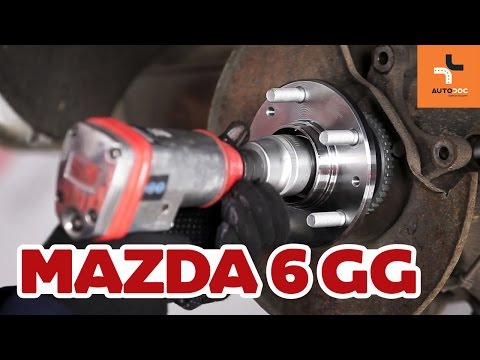
Mazda 6
(2002-2008 /
MK 1, GG)
The rear wheel hub bearing is integrated into the hub itself. To replace it, proceed as follows: lift the vehicle on the ramp and remove the rear whe…
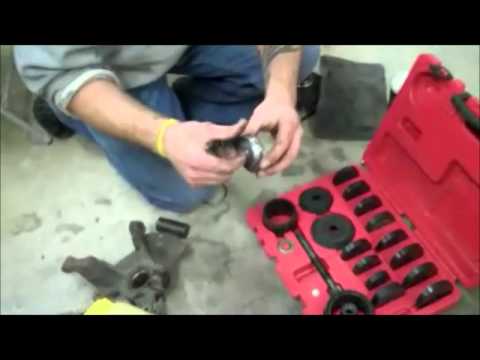
Mazda 6
(2002-2008 /
MK 1, GG)
Lift the vehicle, secure it, and remove the wheel. Disassemble the entire brake assembly to free the shaft. Remove the brake disc, starting by taking…
Other guides you may be interested in
|
How to Replace the Gear Shift Gaiter of the Honda CR-V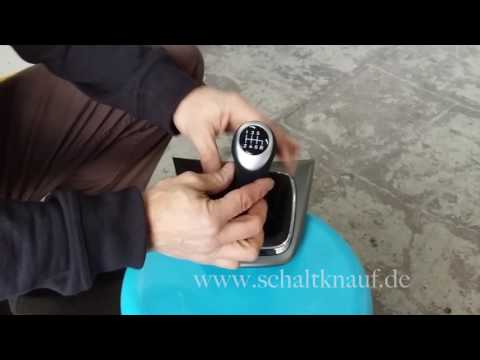
You can purchase an aftermarket gear shift cover complete with a knob, made of leather with coloured stitching. The disassembly is quite straightforward: start by unscrewing the gear shift knob by twisting it. Next, detach the trim at the base of the gear lever by prying along the edges. Then, remove the chrome trim that holds the gaiter in place, peeling off the leather edges from the plastic support. Apply new double-sided adhesive to the plastic tabs to insert and stick the edges of the new gaiter, securing it with the chrome trim. Finally, fit the gaiter complete with the knob onto the gear lever, securing it with the appropriate screws and reattaching the trim to the tunnel support. by ScegliAuto More videos
|
|
For advertising on this site Write to info@scegliauto.com
ScegliAuto is not responsible for any inaccuracy of the data in the lists. To report any inaccuracy or your business (if you own the business in question), please write to info@scegliauto.com
Number of seconds to generate the page: 0.050
(c) ScegliAuto 2026 - info@scegliauto.com - Privacy policy VAT number: IT01247470535 |