
|
Do it yourself
| |||
| ||||


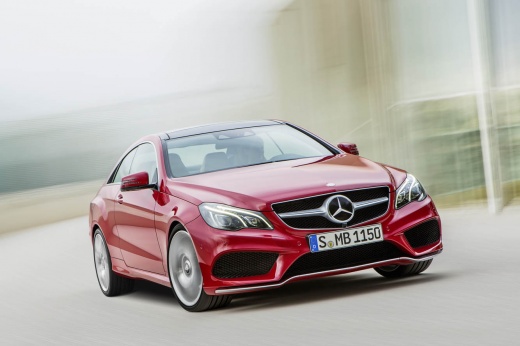
How to Remove the Tire from a 2013 Mercedes Benz E250
Model: Mercedes Classe E
W212
- Years:
2009, 2010, 2011, 2012, 2013, 2014, 2015, 2016
Video tutorial
First, as shown in the video, you need to unscrew the bolts that hold the wheel. Insert the jack to lift the car enough to remove the tire once the four bolts are unscrewed. At this point, lubricate the area between the brake rotor and the wheel with a special anti-wear, anti-oxidant, and super lubricant paste. Wear gloves for this operation if you don't want to get your hands dirty. Once you apply the paste on both sides, remove the excess with a cotton cloth. Insert the cylinder into the wheel hub, ensuring that the holes for the bolts align. Place the wheel, screw it on, and remove the jack.
Updated on 12 June 2026 by ScegliAuto
Related tutorials
Mercedes Classe E
(2016-2023 /
W213)
To reset the tire pressure light on a Mercedes E-Class, inflate the tires until they reach the recommended pressure value: this value is located on t…

Mercedes Classe E
(2002-2009 /
W211)
Follow these instructions to remove and replace the headlight bulb on a Mercedes E-Class. First, open the hood of your car and start by removing the …
Mercedes Classe E
(2016-2023 /
W213)
Today, with the help of this short video tutorial, you will learn how to reset the TPMS light on a 2016 Mercedes E-Class, model W213. The first step …
Other guides you may be interested in |
How to Replace the Glow Plugs in the Fiat Ducato 2.3 Multijet?
Glow plugs, as the name suggests, raise the temperature of the engine in diesel vehicles to allow for easier starting. The manufacturer, in this case, Fiat for the Ducato 2.3 Multijet, specifies how often they should be replaced, and a warning light will illuminate when it's time. This work is carried out under the bonnet. First, remove the upper engine cover, then lift the coil and, using a socket wrench of the appropriate size, unscrew the glow plug to remove it from the base, followed by installing the new one. by ScegliAuto More videos
|
|
For advertising on this site Write to info@scegliauto.com
ScegliAuto is not responsible for any inaccuracy of the data in the lists. To report any inaccuracy or your business (if you own the business in question), please write to info@scegliauto.com
Number of seconds to generate the page: 0.019
(c) ScegliAuto 2026 - info@scegliauto.com - Privacy policy VAT number: IT01247470535 |
