
|
Do it yourself
| |||
| ||||


How to Reset the Service in a Mercedes Benz GLS 450 4 Matic
Model: Mercedes Gls
X167
- Years 2020-2026
In this video tutorial, you will see how to reset the service in a Mercedes Benz GLS 450 4 Matic: after performing the DIY maintenance, get in the vehicle, press the ignition button once to turn on the dashboard, then select "TRIP"; press and hold the "BACK" button and the button immediately to its right (located on the left side of the steering wheel), then hold these buttons for a couple of seconds, then release these buttons and press the Home button located on the left side of the steering wheel, scroll to find the "Workshop" option and press the "enter" button, then scroll to the "Assistance Plus" option and press the "enter" button; then turn the ignition on again and select "Full Service" and confirm service; once you have chosen the option to reset (select YES and confirm). Reset complete.
Updated on 14 August 2026 by ScegliAuto
Video tutorial
Related tutorials
Mercedes Gls
(2020-2026 /
X167)
Today, you will learn how to reset the service light related to the maintenance interval on a 2024 Mercedes GLS. To perform the reset, turn on the ig…
Mercedes Gls
(2013-2019 /
X166)
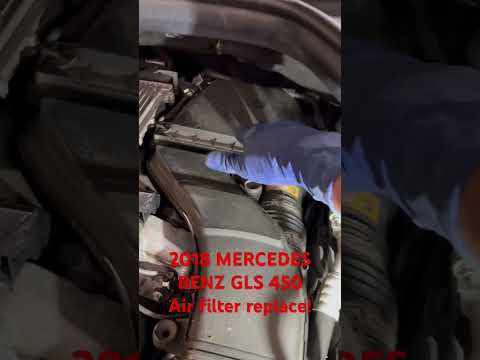
If you own a 2018 Mercedes GLS 450 and are wondering how to replace the engine air filter, you have found the right guide. First, ensure the vehicle …

Mercedes Gls
(2013-2019 /
X166)
In this tutorial, we will see how to reset the service in the Mercedes GLS, an extremely simple and quick operation to perform only after completing …
Other guides you may be interested in
|
Fuses Location and Diagram for the Volkswagen Crafter
In this guide, we will look at the location of the fuse boxes and how to find their diagram for the Volkswagen Crafter. First, get inside the vehicle and start by removing the plastic cover found under the steering wheel, to access the internal fuse box; you will find another fuse box in the engine compartment by removing the plastic cover located next to the battery. At this point, use the owner's manual to find the fuse diagram, which will allow you to identify and replace any blown fuses with new ones! by ScegliAuto More videos
|

|
For advertising on this site Write to info@scegliauto.com
ScegliAuto is not responsible for any inaccuracy of the data in the lists. To report any inaccuracy or your business (if you own the business in question), please write to info@scegliauto.com
Number of seconds to generate the page: 0.114
(c) ScegliAuto 2026 - info@scegliauto.com - Privacy policy VAT number: IT01247470535 |
