
|
Do it yourself
| |||
| ||||


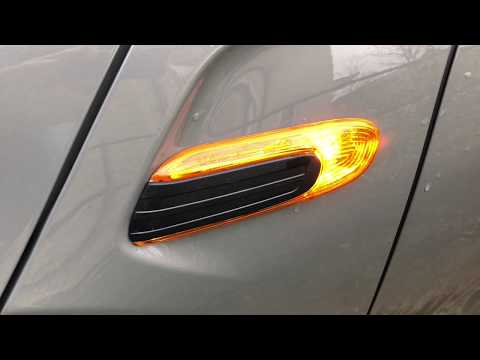
Replacing Side Indicator Bulb
Model: Mini Mini
Countryman1, R60
- Years 2010-2016
To replace the bulb of the side indicator integrated into the front bumper, you need to remove the headlamp to access the bulb holder. Open the front bonnet, disconnect the connector attached to the headlamp, and proceed to remove the fixing pins of the headlamp (one at each corner).
Remove the headlamp from its housing: at this point, you can extract the bulb holder from the side indicator and replace it with a new bulb (T5 5W fitting). It is advisable to check the operation before reinstalling the headlamp.
Updated on 10 February 2026 by ScegliAuto
Video tutorial
Related tutorials
Mini
(2007-2014 /
R56, R57, R55)
Today, thanks to this video tutorial, we will see step by step how to replace the turn signal bulb on a Mini Cooper (2007-2014). Let's start by openi…

Mini
(2007-2014 /
R56, R57, R55)
To replace the side bulb of the Mini Cooper model R56, we need to open the front hood and push the bulb cover outward. Disconnect the connector from …
Mini
(2010-2016 /
Countryman1, R60)
Let's see how to remove the side indicator light of a Mini. We lift the headlight to access the side light. We disassemble the cover on the side of t…
Other guides you may be interested in
|
How to Replace the Headlight Bulbs on a Mercedes C-Class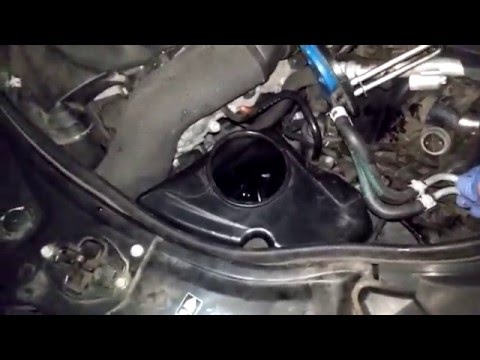
Let's see how to replace the headlight bulbs on a Mercedes C-Class. Open the hood by pulling the lever located at the bottom right of the dashboard and secure it with the prop rod. Locate the inspection cap of the headlight (located at the back of the headlight) and remove it. At this point, you will find the bulbs with metal clips; pull the bulb holder out of the headlight and extract the damaged bulbs using a screwdriver or needle-nose pliers. Install the new bulbs (always the correct type and size) and insert the bulb holder back into the headlight. Reassemble all the parts removed earlier. by ScegliAuto More videos
|

|
For advertising on this site Write to info@scegliauto.com
ScegliAuto is not responsible for any inaccuracy of the data in the lists. To report any inaccuracy or your business (if you own the business in question), please write to info@scegliauto.com
Number of seconds to generate the page: 0.066
(c) ScegliAuto 2026 - info@scegliauto.com - Privacy policy VAT number: IT01247470535 |