
|
Do it yourself
| |||
| ||||


Replacing Indicator Bulb on a Mini
Model: Mini Mini
Countryman1, R60
- Years 2010-2016
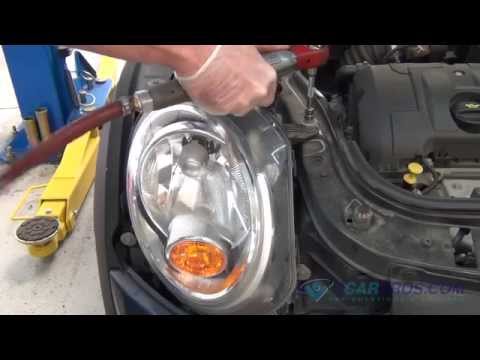
Let's see how to remove the side indicator light on a Mini. Lift the front headlamp to access the side indicator. Remove the cover on the side of the engine bay, then pry between the indicator light and the car body (rotate the light until it is released), pull the light out of the panel, and disconnect the power connector behind it. Replace the damaged bulb with a new one (damaged light). Reinstall the light into the car body: secure the plastic into the bodywork. Test the correct operation of the side light.
Updated on 9 April 2026 by ScegliAuto
Video tutorial
Related tutorials
Mini
(2001-2007 /
R53, R52, R50)
Replace the indicator bulb on a Mini Cooper. Remove the lamp from inside the wing. Use a plastic lever or your hands to detach the number plate light…
Mini
(2010-2016 /
Countryman1, R60)
To replace the bulb of the side indicator integrated into the front bumper, you need to remove the headlamp to access the bulb holder. Open the front…

Mini
(2007-2014 /
R56, R55, R57)
I will explain how to replace the rear side indicator bulb of your car with simple steps and perhaps a bit of skill. Gather a cross-head screwdriver …
Other guides you may be interested in
|
How to Reset the Central Locking of the Volkswagen Golf 4?
If the central locking system of the Volkswagen Golf 4 is not working, it is likely necessary to reset the system: to do this, open the driver's door and detach the side panel of the dashboard next to the steering wheel. Under this panel, you will find the fuses, including the one for the central locking, which is indicated in the manual as number 14. To reset the system, remove this fuse from its housing, then reinsert it or replace it with a new one of the same amperage: this will reset the central locking system. by ScegliAuto More videos
|
|
For advertising on this site Write to info@scegliauto.com
ScegliAuto is not responsible for any inaccuracy of the data in the lists. To report any inaccuracy or your business (if you own the business in question), please write to info@scegliauto.com
Number of seconds to generate the page: 0.069
(c) ScegliAuto 2026 - info@scegliauto.com - Privacy policy VAT number: IT01247470535 |
