
|
Do it yourself
| |||
| ||||



How to Replace the Handbrake Cable on a Mini Cooper
Model: Mini Mini
R57, R56, R55
- Years:
2007, 2008, 2009, 2010, 2011, 2012, 2013, 2014
Video tutorial
In this guide, you will find the instructions to dismantle and replace the handbrake cable on a Mini Cooper. First, get inside the vehicle and start by removing the plastic cover of the centre tunnel, first pulling the gear knob off the lever; then disconnect the cable from the handbrake lever. At this point, raise the vehicle and detach the cable from the rear brakes; remove the metal shield by unscrewing the screws, and unscrew the adjustment screws to remove the cable, following the video tutorial to the end for reassembly!
Updated on 13 June 2026 by ScegliAuto
Related tutorials
Mini
(2001-2007 /
R53, R50, R52)
In this video tutorial, learn how to remove and replace the handbrake cover on a Mini Cooper first and second series, in the JCW version. First, get …

Mini
(2007-2014 /
R57, R56, R55)
The handbrake is an essential component for any type of car. It allows the driver to leave the vehicle stationary without it moving, especially on sl…
Mini
(2001-2007 /
R53, R50, R52)
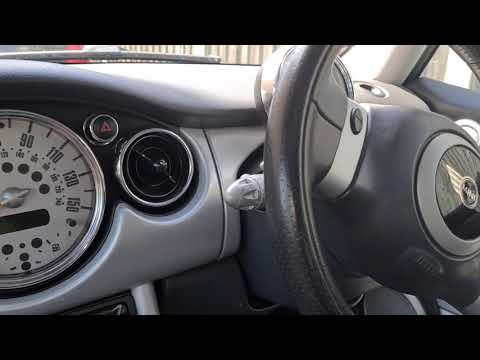
In this tutorial, you will see how to adjust the handbrake on a Mini Cooper, a very simple and quick operation. First, park the vehicle on a perfectl…
Other guides you may be interested in |
How to Reset the Tyre Pressure Light on a Cupra Formentor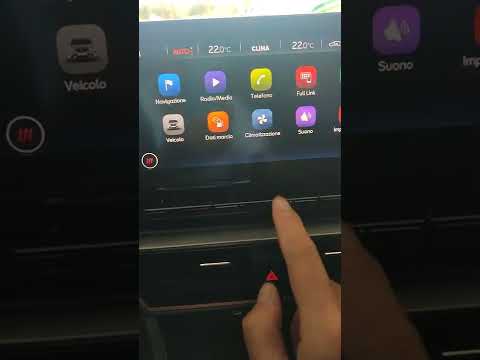
In this brief and simple video tutorial, learn how to reset the tyre pressure on a Cupra Formentor. Start by pressing the ignition button to turn on the instrument cluster. Now, use the touchscreen display on the central console to open the car menu. From here, select the driving data option, then the tyre pressure option. Now, click on the "SET" button with the pressure warning symbol and confirm the correct tyre pressure required by the manufacturer to perform the reset. by ScegliAuto More videos
|
|
For advertising on this site Write to info@scegliauto.com
ScegliAuto is not responsible for any inaccuracy of the data in the lists. To report any inaccuracy or your business (if you own the business in question), please write to info@scegliauto.com
Number of seconds to generate the page: 0.027
(c) ScegliAuto 2026 - info@scegliauto.com - Privacy policy VAT number: IT01247470535 |
