
|
Do it yourself
| |||
| ||||


How to Replace the Rear Fog Lights on the Mini Cooper
Model: Mini Mini
R57, R55, R56
- Years 2007-2014
To replace the rear fog lights on the Mini Cooper, follow these steps: 1) Disconnect the battery. 2) Gently pry the red side tabs, being careful not to damage the electrical connections. 3) Pull the fog light out from the outer side of the bumper. 4) Disconnect the electrical connections from the fog light. 5) Check the condition of the fog light. 6) Reassemble by reversing the steps. 7) After reassembly, ensure everything is functioning and that the dashboard does not show any new warning lights.
Updated on 25 February 2026 by ScegliAuto
Video tutorial
Related tutorials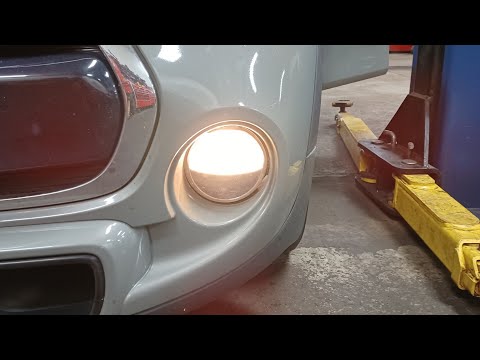
Mini
(2010-2016 /
R60, Countryman1)
Intervening with a timely replacement of the fog lights is very important as it reduces any inconvenience and dangers when driving on days with a lot…
Mini
(2007-2014 /
R57, R55, R56)
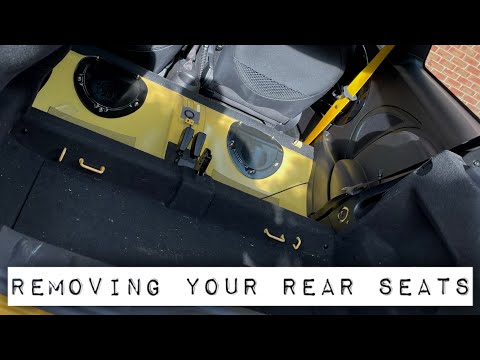
The following steps will show us how to disassemble and remove the rear seats of the Mini Cooper, following the instructions below. First, we open th…
Mini
(2007-2014 /
R57, R55, R56)
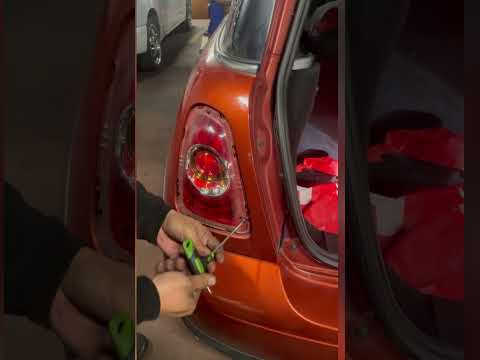
If you need to remove one of the rear lights of your Mini Cooper R56 but you don't know how to do it, don't worry because we will explain step by ste…
Other guides you may be interested in
|
How to Replace the Front Headlamp Bulbs on a Dacia Sandero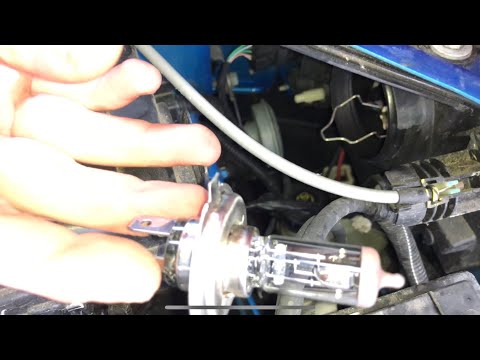
Open the bonnet by pulling the lever located at the bottom left of the dashboard, and secure it with the prop rod. Locate the inspection cap of the headlamp (at the rear of the headlamp) and remove it. After removing the caps, you will find the bulbs with metal clips; pull out the bulb holder from the headlamp and extract the damaged bulbs using a screwdriver. Fit the new bulbs (ensuring they are the correct type and size) and insert the bulb holder back into the headlamp housing. Reassemble all previously removed parts. by ScegliAuto More videos
|

|
For advertising on this site Write to info@scegliauto.com
ScegliAuto is not responsible for any inaccuracy of the data in the lists. To report any inaccuracy or your business (if you own the business in question), please write to info@scegliauto.com
Number of seconds to generate the page: 0.087
(c) ScegliAuto 2026 - info@scegliauto.com - Privacy policy VAT number: IT01247470535 |