
|
Do it yourself
| |||
| ||||


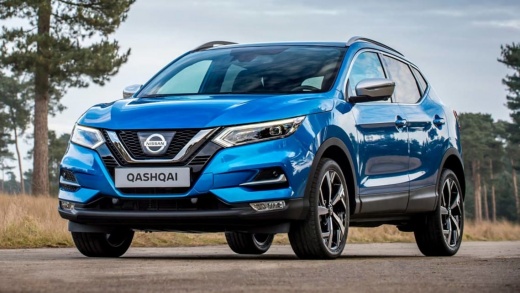
Replacing the Fuses in the Box of a Nissan Qashqai
Model: Nissan Qashqai
J11
- Years:
2014, 2015, 2016, 2017, 2018, 2019, 2020, 2021, 2022
Video tutorial
Replace the fuses in the dedicated box of a Nissan Qashqai. Open the cover and check the dashboard for any anomalies reported by the vehicle. Use a plastic lever to remove the trim in the dashboard (remove the glove compartment), then, use needle-nose pliers to pull out the damaged fuses in the compartment. After this operation, insert the new fuses into the designated slots in the compartment. Finally, close the fuse inspection box with the trim cover. Test the correct functioning of the vehicle by turning on the dashboard with the appropriate key.
Updated on 9 March 2026 by ScegliAuto
Related tutorials
Nissan Qashqai
(2014-2022 /
J11)
The Nissan Qashqai has two fuse boxes installed inside it. The first fuse box is located behind the driver's side glove compartment. The second fuse …

Nissan Qashqai
(2014-2022 /
J11)
This model from the Japanese manufacturer has three fuse boxes. The first is located in the cabin on the left side near the footwell, behind a plasti…

Nissan Qashqai
(2014-2022 /
J11)
The fuse diagram for the 2014 Nissan Qashqai is a true guide that makes our life easier, as it allows you to easily find a specific fuse in the fuse …
Other guides you may be interested in
|
Frequently Asked QuestionsHow to Set the Clock on a Fiat Scudo
Setting the time on a Fiat Scudo is a simple and quick operation. First, turn on the vehicle's onboard computer and then press the SET button located on the dashboard. The settings menu will appear on the display; press the "+" button to select the "TIME" option using the "SET" button. Once in the clock menu, you can choose the format and adjust the hours and minutes by pressing the "+", "-" and "SET" buttons. When finished, return to the main menu and then turn off the ignition to complete the reset. by ScegliAuto More videos
|
|
For advertising on this site Write to info@scegliauto.com
ScegliAuto is not responsible for any inaccuracy of the data in the lists. To report any inaccuracy or your business (if you own the business in question), please write to info@scegliauto.com
Number of seconds to generate the page: 0.102
(c) ScegliAuto 2026 - info@scegliauto.com - Privacy policy VAT number: IT01247470535 |
