
|
Do it yourself
| |||
| ||||


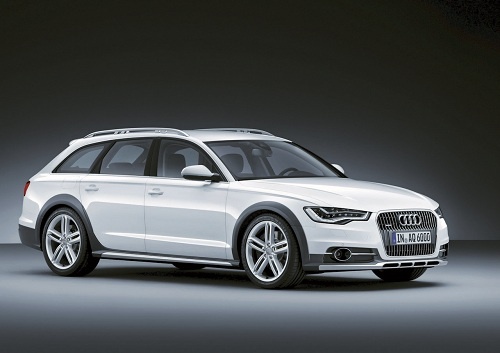
How to Replace the Front Grille of the Audi A6 DIY
Model: Audi A6
C7, MK 4
- Years:
2011, 2012, 2013, 2014, 2015, 2016, 2017, 2018
Video tutorial
To change the front grille of the Audi A6, disconnect the battery in the trunk and lift the front end on jack stands, removing at least one wheel for comfortable access to the wheel wells. Open the hood and remove the upper plastic covers, then unscrew the screws that secure the bumper to the crossmember. In the wheel wells, detach the screws and clips along the edge of the bumper and the inner trim, then also free the lower fasteners underneath the car. Once all the anchor points are loosened, the bumper can be pulled forward by disconnecting the connectors for the sensors and fog lights. Place the bumper on jack stands or a protected surface, and working from the back, remove the screws and plastic fasteners holding the original grille, including the hood latch supports and any secondary grilles. After completely freeing the old grille, position the new one, insert it into place, and secure it with screws and new anchor points, ensuring it fits well around the entire perimeter. At this point, transfer the Audi logo and any decorative lettering to the new grille, tightening the rear screws. Once the assembly is complete, reposition the bumper on the Audi A6, reconnect all the connectors, reinsert screws and clips at the top, underneath, and in the wheel wells, reattach the covers, and lower the car, checking the alignment and stability of the new front grille.
Posted on 30 May 2026 by ScegliAuto
Related tutorials
Audi A6
(2011-2018 /
C7, MK 4)
To locate the fuse box inside your Audi A6 C7 (2011-2018), it only takes a few seconds. Just carefully read this mini guide and follow the steps desc…

Audi A6
(1997-2004 /
MK 2, C5)
In this video tutorial, you will learn how to remove and replace the front headlight on the Audi A6 C5, following the instructions provided below. Fi…

Audi A6
(1997-2004 /
MK 2, C5)
Remove the damaged bumper from the A6? Let's see how to take it off from the front of the car. Open and lift the hood, then remove the fastening pins…
Other guides you may be interested in
|
How to Reset the AdBlue Warning Light on a Peugeot Boxer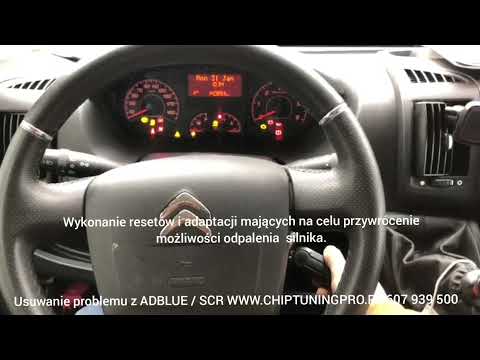
To reset the AdBlue system on a 2018 Peugeot Boxer, follow these steps: Start the engine and ensure the vehicle is parked in a well-ventilated area. Locate the "MENU" button on the dashboard or steering wheel controls. Press and hold the "MENU" button until the menu options appear on the display. Use the arrow buttons or scroll wheel to access the "Vehicle Settings" or "Settings" menu. Select the "AdBlue" or "AdBlue System" option. Look for the "Recharge" or "Reset" option in the AdBlue menu. Once you find the reset option, select it and confirm your choice when prompted. The system will be reset, and a confirmation message may appear on the display. Turn off the engine and wait a few seconds. Restart the engine and check that the AdBlue system has been reset. by ScegliAuto More videos
|
|
For advertising on this site Write to info@scegliauto.com
ScegliAuto is not responsible for any inaccuracy of the data in the lists. To report any inaccuracy or your business (if you own the business in question), please write to info@scegliauto.com
Number of seconds to generate the page: 0.060
(c) ScegliAuto 2026 - info@scegliauto.com - Privacy policy VAT number: IT01247470535 |
