
|
Do it yourself
| |||
| ||||


How to Replace the Sun Visor on a Nissan Altima
Model: Nissan Altima
L33
- Years:
2013, 2014, 2015, 2016, 2017, 2018
Video tutorial
Discover, in this brief and simple guide, how to remove and replace the sun visor on a Nissan Altima by following the instructions below. First, get inside the vehicle and start by removing the small plastic cap located on the bracket of the sun visor. Then, unscrew the mounting screws found in the holes to detach and completely remove it (also detaching it from the other side), as shown in the video. At this point, replace the sun visor with the new one of the correct type, applying the reverse procedure!
Updated on 12 May 2026 by ScegliAuto
Related tutorials
Nissan Altima
(2007-2012 /
L32)
To change the sun visor on the Nissan Altima, start by removing the cap that hides the screw, which can be done with a knife blade or a plastic spatu…

Nissan Altima
(1998-2001 /
L30)
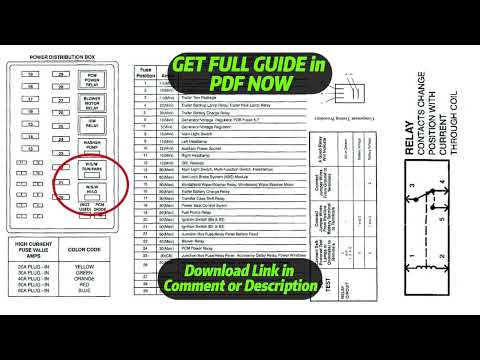
In this mini guide for your 1998 Nissan Altima, you will discover where the fuse box is located. First, enter the vehicle from the driver's side. Mak…
Nissan Altima
(2002-2006 /
L31)
If you haven't been able to locate the box that contains all the various fuses in your 2004 Nissan Altima, don't worry because below we will provide …
Other guides you may be interested in |
How to reset the Service light on a 2019 Jeep Renegade?
The Service light, depicted as a yellow spanner, illuminates as scheduled to remind the driver that it is time for scheduled maintenance. This means that the set mileage has been reached, or the expected time has passed. The procedure involves turning on the instrument cluster, pressing the accelerator three times, and then turning off the ignition. After this, keep the brake pressed, turn the ignition back on, and then turn it off again. Upon the next ignition, you will notice that the light has been reset. by ScegliAuto More videos
|
|
For advertising on this site Write to info@scegliauto.com
ScegliAuto is not responsible for any inaccuracy of the data in the lists. To report any inaccuracy or your business (if you own the business in question), please write to info@scegliauto.com
Number of seconds to generate the page: 0.010
(c) ScegliAuto 2026 - info@scegliauto.com - Privacy policy VAT number: IT01247470535 |
