
|
Do it yourself
| |||
| ||||


How to Replace the Front Shock Absorber on an Opel Astra
Model: Vauxhall Astra Sw
MK 3
- Years:
2004, 2005, 2006, 2007, 2008, 2009, 2010, 2011
Video tutorial
Let's see how to replace the front shock absorber on an Opel Astra. The first step: loosen the wheel nuts, lift the car on a column lift, and remove the wheel. Use a socket to unscrew the securing bolts of the shock absorber from the wheel hub (disconnect the brake line with a screwdriver). Now lower the car with the column lift and unscrew the bolts located on the side (top part of the shock absorber), then remove the shock absorber from its housing. Separate the shock absorber from the spring using a compression tool. Once everything is assembled, proceed to install the shock absorber on the car in reverse order.
Updated on 1 March 2026 by ScegliAuto
Related tutorials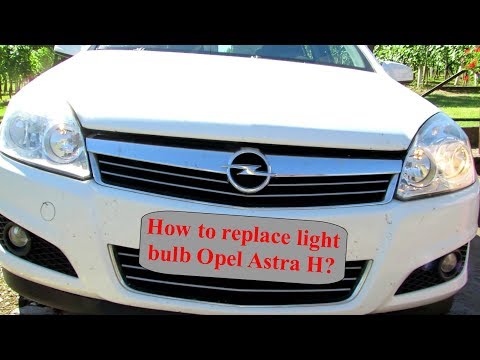
Vauxhall Astra Sw
(2004-2011 /
MK 3)
Let's see in this video how to replace the damaged bulbs on an Opel Astra. Start by removing the plastic cover at the bottom of the bumper with a sui…
Vauxhall Astra Sw
(2004-2011 /
MK 3)
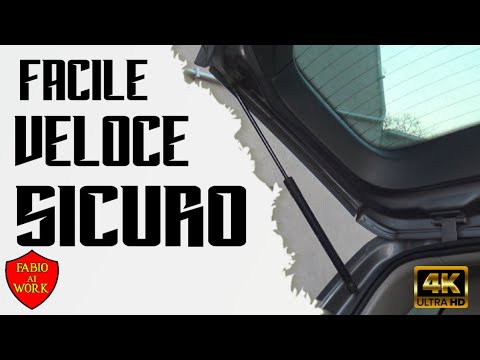
This brief video tutorial shows the steps necessary to replace the tailgate struts on a third-generation Opel Astra SW, produced from 2004 to 2011. F…

Vauxhall Astra Sw
(2004-2011 /
MK 3)
Here’s how to replace the rear brake pads on an Opel Astra SW. Lift the car on a column lift (jack) to the desired height; then remove the wheel (usi…
Other guides you may be interested in |
How to Replace the Glow Plugs in the Fiat Ducato 2.3 Multijet?
Glow plugs, as the name suggests, raise the temperature of the engine in diesel vehicles to allow for easier starting. The manufacturer, in this case, Fiat for the Ducato 2.3 Multijet, specifies how often they should be replaced, and a warning light will illuminate when it's time. This work is carried out under the bonnet. First, remove the upper engine cover, then lift the coil and, using a socket wrench of the appropriate size, unscrew the glow plug to remove it from the base, followed by installing the new one. by ScegliAuto More videos
|
|
For advertising on this site Write to info@scegliauto.com
ScegliAuto is not responsible for any inaccuracy of the data in the lists. To report any inaccuracy or your business (if you own the business in question), please write to info@scegliauto.com
Number of seconds to generate the page: 0.017
(c) ScegliAuto 2026 - info@scegliauto.com - Privacy policy VAT number: IT01247470535 |
