
|
Do it yourself
| |||
| ||||


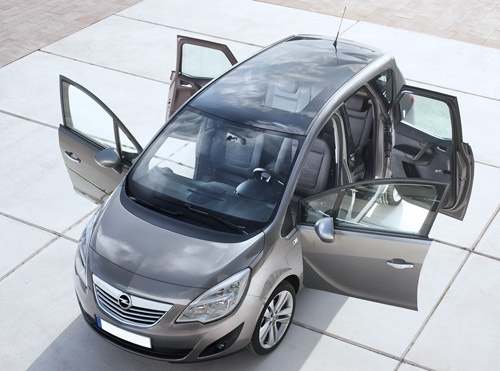
How to navigate through the speedometer display in an Opel Meriva II (2010-2017)
Model: Vauxhall Meriva
Meriva B, MK 2
- Years:
2010, 2011, 2012, 2013, 2014, 2015, 2016, 2017
Video tutorial
To navigate the speedometer display of your Opel Meriva II, simply use the "Menu" button or the scroll wheel on the wiper lever, depending on the version. Press the Menu button until the desired menu appears on the central display between the dials, then rotate or press the wheel to scroll through the options: average consumption, range, average speed, and more. To reset the data, hold down. It's all very intuitive, it almost seems to follow your thoughts: the more you get the hang of it, the more natural it seems. You don't need a thousand buttons, just a bit of practice and the Meriva tells you everything you want to know, without distracting you from driving.
Posted on 12 October 2025 by ScegliAuto
Related tutorials
Vauxhall Meriva
(2003-2010 /
Meriva A, MK 1)
Resetting the service on the Opel Meriva A, the first model produced between 2003 and 2010, is done through the odometer button. This is located on t…

Vauxhall Meriva
(2003-2010 /
Meriva A, MK 1)
If you notice the Insp light appearing on the mini display of the instrument cluster when starting your Opel Meriva Mk1, do not worry as you will fin…

Vauxhall Meriva
(2010-2017 /
Meriva B, MK 2)
Today we will explain how to change the unit of measurement of kilometers on the speedometer display of the Opel Meriva model B, produced from 2010 t…
Other guides you may be interested in |
Frequently Asked QuestionsHow to Replace the Glow Plugs in the Fiat Ducato 2.3 Multijet?
Glow plugs, as the name suggests, raise the temperature of the engine in diesel vehicles to allow for easier starting. The manufacturer, in this case, Fiat for the Ducato 2.3 Multijet, specifies how often they should be replaced, and a warning light will illuminate when it's time. This work is carried out under the bonnet. First, remove the upper engine cover, then lift the coil and, using a socket wrench of the appropriate size, unscrew the glow plug to remove it from the base, followed by installing the new one. by ScegliAuto More videos
|
|
For advertising on this site Write to info@scegliauto.com
ScegliAuto is not responsible for any inaccuracy of the data in the lists. To report any inaccuracy or your business (if you own the business in question), please write to info@scegliauto.com
Number of seconds to generate the page: 0.022
(c) ScegliAuto 2026 - info@scegliauto.com - Privacy policy VAT number: IT01247470535 |
