
|
Do it yourself
| |||
| ||||


How to change the front brake pads of the Opel Vivaro
Model: Vauxhall Vivaro
MK 1
- Years 2001-2014
On the Opel Vivaro, the work begins by securing the vehicle: in the video, the front wheel is lifted and the front end is supported on jack stands, allowing for a relaxed working pace. Once the wheel is removed, the brake caliper and disc are easily accessible in the wheel arch. At this point, work is done on the caliper: the fasteners are released, creating space to remove the old brake pads. The process also includes a cleaning step in the area of the caliper and bracket before moving on to the installation of the replacement parts. Before inserting the new pads on the Opel Vivaro, the caliper piston is pushed back using a tool, slowly, to create the necessary space for the thickness of the new pads. When the piston is retracted, the new pads are placed in the same position as the old ones, and the caliper is repositioned, securing the fasteners. At the end of the work on the Opel Vivaro, the wheel is remounted and tightened, and then the vehicle is lowered to the ground.
Posted on 20 January 2026 by ScegliAuto
Video tutorial
Related tutorials
Vauxhall Vivaro
(2019-2026 /
Vivaro C, MK 3)
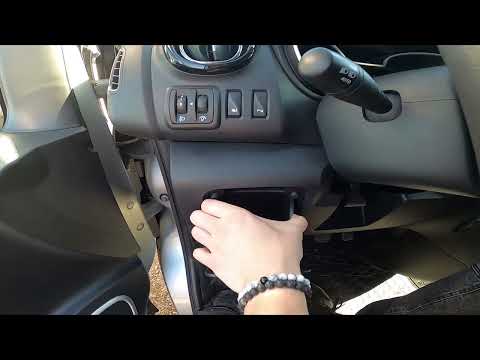
In the following guide, you will find a step-by-step description of the procedure you need to follow to quickly and safely locate the fuse box inside…
Vauxhall Vivaro
(2014-2019 /
MK 2)
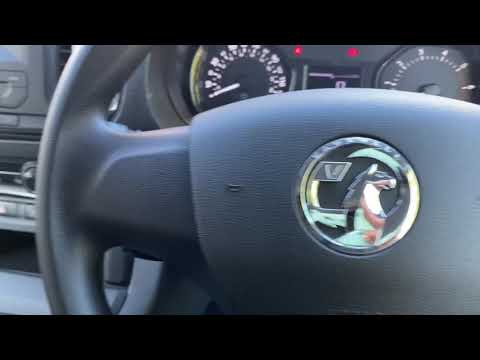
If you experience issues with one or more electrical components in your Opel Vivaro B, you can target the respective fuses. In this guide, you will l…
Vauxhall Vivaro
(2019-2026 /
Vivaro C, MK 3)
In this tutorial, you will learn how to set the time on an Opel Vivaro van, a very simple and quick operation to perform, for example, after replacin…
Other guides you may be interested in
|
How to Open the Bonnet on the Lancia Y
To open the bonnet on this vehicle, follow these simple instructions: first, open the driver's door and locate the lever positioned just below the dashboard, marked with an image of the vehicle with the bonnet open. Pull this lever towards you until you hear a "click" indicating the bonnet is released. Next, exit the cabin and stand in front of the bonnet to disengage the safety catch and complete the opening. To do this, slightly lift the bonnet, locate the yellow lever underneath, and pull it to the left to fully release and open the bonnet. by ScegliAuto More videos
|
|
For advertising on this site Write to info@scegliauto.com
ScegliAuto is not responsible for any inaccuracy of the data in the lists. To report any inaccuracy or your business (if you own the business in question), please write to info@scegliauto.com
Number of seconds to generate the page: 0.166
(c) ScegliAuto 2026 - info@scegliauto.com - Privacy policy VAT number: IT01247470535 |
