
|
Do it yourself
| |||
| ||||


How to replace brake discs in the Opel Corsa
Model: Vauxhall Corsa
Corsa D
- Years 2006-2014
The replacement of the front discs and pads on an Opel Corsa D is an important maintenance operation to ensure the correct functioning of the car's braking system. Below, I will provide a general guide on how to perform this operation. However, it is important to note that the following procedure is for informational purposes only and that car maintenance should be carried out by qualified mechanics in a safe environment. **Tools and materials needed:** - Jack and jack stands or a car lift - Appropriate keys and screwdrivers - Set of new front brake discs - Set of new front brake pads - Brake grease - Allen key **Procedure:** 1. Make sure the car is parked on a flat and stable surface and engage the handbrake. 2. Disconnect the negative battery cable to avoid accidental short circuits during the operation. 3. Lift the car using a jack and make sure it is securely positioned by placing the jack stands under the chassis. 4. Remove the front wheels using the appropriate key. 5. Before proceeding with the removal of the discs and pads, it is advisable to loosen the disc screws while the wheels are still mounted, as the weight of the wheels can make it easier to remove the screws. 6. Using an Allen key, unscrew the disc screws that hold the disc in place. There may be one or two small holes on the disc to facilitate the removal of the screws. 7. After removing the screws, the disc should easily slide off the bracket. You may need to use a rubber mallet or a small pry bar to unlock the disc, especially if it has been installed for a long time. 8. Now that the disc is removed, you will have access to the brake pads. Use an appropriate key to remove the brake calipers. 9. Remove the used pads from the calipers. You may need some tools to push the pads back to make room for the thicker new pads. 10. Before installing the new pads, apply some brake grease to the metal surfaces where the pads will make contact with the calipers. 11. Install the new pads and make sure they are properly positioned inside the calipers. 12. Reposition the brake calipers on the pad housing and make sure they are securely fastened. 13. Now you can install the new brake discs. Place the new disc on the hub and use the previously removed screws to securely fasten it. 14. Tighten the disc screws using the recommended torque specified by the car manufacturer. 15. Repeat the steps for the other side of the car. 16. Reinstall the front wheels and tighten the wheel bolts using the appropriate torque. 17. Lower the car from the jack stands using the jack and remove the jack. 18. Reconnect the negative battery cable. 19. Perform a brake test on a quiet road to verify the correct operation of the new braking system. Important: Make sure to consult the car owner's manual and follow the manufacturer's specifications and safety instructions when performing this operation. If you are not familiar with car maintenance, it is advisable to seek a professional mechanic to perform the replacement of the front brake discs and pads.
Posted on 26 March 2024 by ScegliAuto
Video tutorial
Related tutorials
Vauxhall Corsa
(1993-2000 /
Corsa B)
Before starting, sit in the driver's seat of your Opel Corsa. Begin by fully lowering the central air vents. Next, unclip the upper and side clips us…

Vauxhall Corsa
(2019-2026 /
Corsa F)
Before you can begin, sit in the driver's seat of your Opel Corsa. Insert the key into the ignition barrel and turn it clockwise. Next, press the but…

Vauxhall Corsa
(2000-2006 /
Corsa C)
In this new guide aimed at all of you who own an Opel Corsa C, we will explain the steps you need to take in order to locate the fuse box. First, lif…
Other guides you may be interested in
|
How to Unlock the Gear Shift Lever on a Range Rover Sport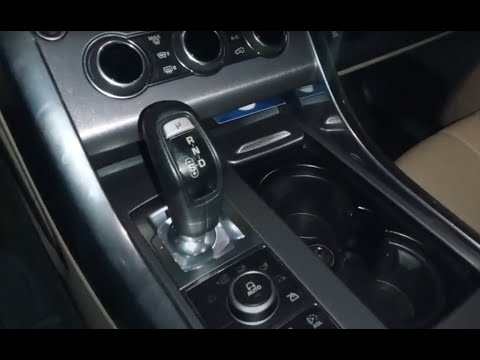
In this video, you will see how to unlock the gear shift on a Land Rover Range Rover Sport with an automatic transmission stuck in "P" mode. First, turn on the ignition and release the parking brake. Then, using a pointed object, lift the plastic covering of the cup holder and remove the six screws that secure the panel hiding the gear shift lever. At this point, you will find a red lever; gently grasp it, lift it, and move it to the "N" position. At this stage of the procedure, you will have unlocked the gear shift and can gradually reassemble the previously removed parts. by ScegliAuto More videos
|

|
For advertising on this site Write to info@scegliauto.com
ScegliAuto is not responsible for any inaccuracy of the data in the lists. To report any inaccuracy or your business (if you own the business in question), please write to info@scegliauto.com
Number of seconds to generate the page: 0.178
(c) ScegliAuto 2026 - info@scegliauto.com - Privacy policy VAT number: IT01247470535 |
