
|
Do it yourself
| |||
| ||||


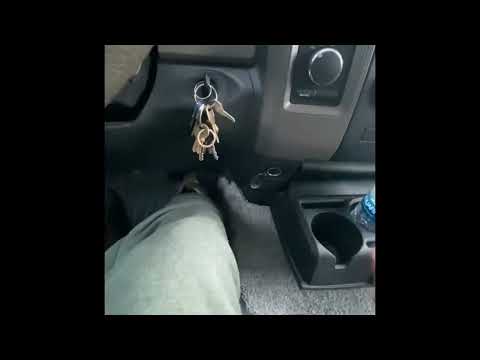
How to easily remove the side steps from a Dodge RAM 1500.
If you feel that the side steps weigh down the look of your Dodge Ram 1500 (and you are tall enough to get in without them), this video will show you how to remove them. You don't even need to lift the vehicle, as it is high enough for an agile person to get underneath without too much difficulty. The side steps are attached to the body with only three screws. It might be a good idea to spray them with W-40 before removing them, but they should come off without too much trouble. Have someone help you when unscrewing the bolts or you might get stuck under the side step, which is not too light. Repeat the process on the other side. Job done.
Posted on 28 May 2023 by ScegliAuto
Video tutorial
Related tutorials
RAM 1500
(2009-2019 /
DS, DJ, MK 4)
The fuse layout, or rather the fuse box, of Dodge Ram vehicles, specifically the 2016 Dodge Ram 1500, is an electrical diagram that allows you to eas…
RAM 1500
(2009-2019 /
DS, DJ, MK 4)
The procedure required to manually reset the Dodge RAM 1500 (2012) engine oil change light is very simple and you can easily perform it even in compl…
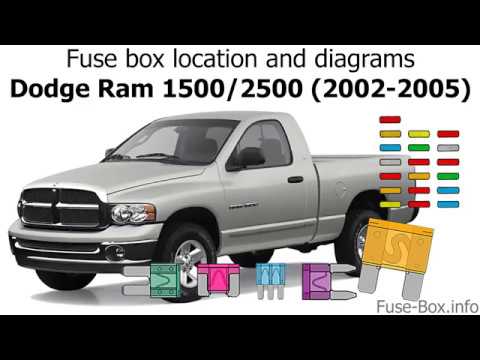
RAM 1500
(2002-2009 /
DR, DH, D1, DC, DM, MK 3)
This video shows the location of the fuse boxes in the 2003 Dodge Ram 1500. In addition to the fuse box locations, the video also shows a diagram of …
Other guides you may be interested in
|
Resetting the Tyre Pressure Light on a Fiat 500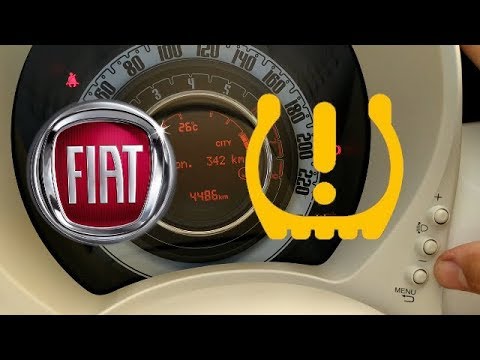
In this brief and simple video tutorial, you will learn how to reset the tyre pressure warning light on a Fiat 500. First, get into your vehicle and navigate to the menu by pressing the appropriate button: go to the tyre pressure option and click again. Then click 'yes' again, and it will automatically perform the procedure to reset the tyre pressure warning light! Remember, before carrying out this operation, check for any faults with the tyres: resolve the issue and then reset the light! by ScegliAuto More videos
|

|
For advertising on this site Write to info@scegliauto.com
ScegliAuto is not responsible for any inaccuracy of the data in the lists. To report any inaccuracy or your business (if you own the business in question), please write to info@scegliauto.com
Number of seconds to generate the page: 0.053
(c) ScegliAuto 2026 - info@scegliauto.com - Privacy policy VAT number: IT01247470535 |