
|
Do it yourself
| |||
| ||||


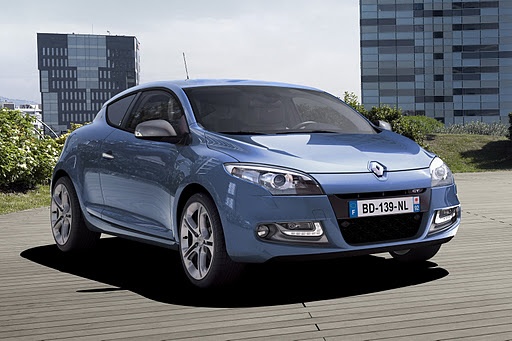
How do you remove the front headlight of the Renault Megane?
Model: Renault Megane
Megane III, Megane 3
- Years:
2008, 2009, 2010, 2011, 2012, 2013, 2014, 2015
Video tutorial
In order to remove the front headlight of the Renault Megane, you need to completely remove the front bumper: the screws that hold it in place will be accessible from the bottom and also from the top by opening the hood. Once the screws inside the wheel arches have been loosened, it will be possible to detach the bumper completely, revealing the screws that hold the headlight unit in place. By now disconnecting the connectors inside, the headlight can be completely removed from its housing and replaced with a new replacement part.
Posted on 10 March 2025 by ScegliAuto
Related tutorials
Renault Megane
(2008-2015 /
Megane III, Megane 3)
To remove the rear light from a Renault Megane, open the tailgate to access the screw located next to the light. Once this screw is loosened, detach …

Renault Megane
(2002-2010 /
Megane 2)
To remove the front headlamp of the Renault Megane, open the bonnet to access the screws located at the top and bottom of the bumper. All these screw…

Renault Megane
(2008-2015 /
Megane III, Megane 3)
To replace the headlight bulb of a 2014 Renault Megane, it is necessary to remove the headlight. Therefore, we open the front hood and using a torque…
Other guides you may be interested in
|
How to Replace the Glow Plugs in the Fiat Ducato 2.3 Multijet?
Glow plugs, as the name suggests, raise the temperature of the engine in diesel vehicles to allow for easier starting. The manufacturer, in this case, Fiat for the Ducato 2.3 Multijet, specifies how often they should be replaced, and a warning light will illuminate when it's time. This work is carried out under the bonnet. First, remove the upper engine cover, then lift the coil and, using a socket wrench of the appropriate size, unscrew the glow plug to remove it from the base, followed by installing the new one. by ScegliAuto More videos
|
|
For advertising on this site Write to info@scegliauto.com
ScegliAuto is not responsible for any inaccuracy of the data in the lists. To report any inaccuracy or your business (if you own the business in question), please write to info@scegliauto.com
Number of seconds to generate the page: 0.047
(c) ScegliAuto 2026 - info@scegliauto.com - Privacy policy VAT number: IT01247470535 |
