
|
Do it yourself
| |||
| ||||


Renault Clio - Video tutorial
Model: Renault Clio
Clio 2, MK 2
- Years 1998-2005 Lift the hood and put on the special support rod. Remove the rear cover of the bulb concerned, disconnect the connector and unhook the metal catch by simply pushing it by hand. At this point you will be able to extract the bulb. Once this is done, proceed in the same way but backwards to assemble the new bulb. Insert it in place and, once you are sure it is in place and holding it firmly with your hand, use your other hand to close the metal stop. Plug in the connector and replace the back cover. The procedure is similar for all bulbs.
Posted on 27 January 2024 by ScegliAuto
 Changing the headlight bulbs on Renault Clio
Renault Clio (1998-2005 / Clio 2, MK 2) Let's see how to change the burnt out bulbs in the front compartment on Renault Clio. We open the front hood, pulling the lever located at the bottom 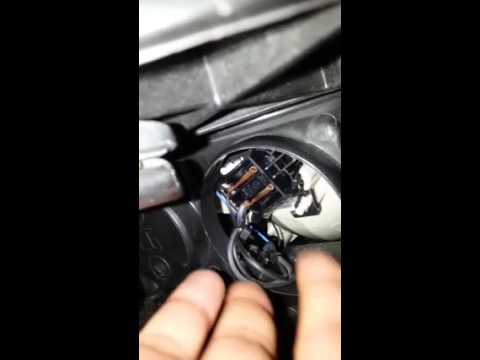 Removal of headlight lights on Renault Clio
Renault Clio (2005-2013 / MK 3, Clio 3, Clio III) Replacing the burned out bulbs of the Clio headlight, let's see the disassembly on the front headlight. We open the front hood by pulling the lever l 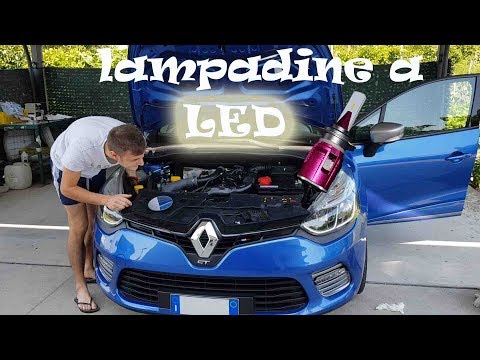 How to replace the front headlight bulb of the Renault Clio.
Renault Clio (1998-2005 / Clio 2, MK 2) Replacing the front headlight bulbs of the Renault Clio with LED bulbs is a very simple operation, which can be done independently. The first thing t |
Frequently Asked QuestionsDisassembly of the gear knob on the Lancia Ypsilon 2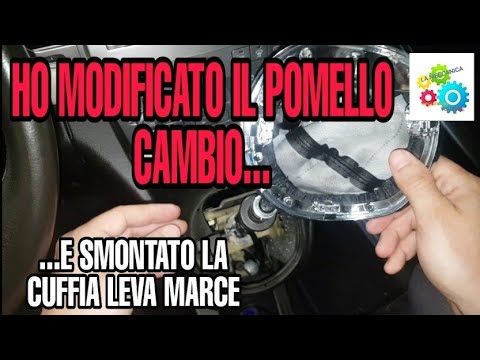
Today we will see, in this video tutorial, how to remove and replace the gear knob on the second series Lancia Ypsilon, but also on the Lancia Musa, in simple and quick steps. We get inside the car and start by removing the old gear knob; to do this, just unscrew it anticlockwise, as shown in the video. At this point we also remove the gearshift gaiter, in order to replace, if necessary, it too; we just have to fix the new headset and insert the new gear knob, screwing it correctly and without creating play on the gear lever! by ScegliAuto More videos
|
|
For advertising on this site Write to info@scegliauto.com
ScegliAuto is not responsible for any inaccuracy of the data in the lists. To report any inaccuracy or your business (if you own the business in question), please write to info@scegliauto.com
Number of seconds to generate the page: 0.029
(c) ScegliAuto 2024 - info@scegliauto.com - Privacy Policy VAT number: IT01247470535 |