
|
Do it yourself
| |||
| ||||


Replacing Front Headlamp Bulb
Model: Renault Scenic
- Years 1996-2003
To access the headlamp assembly, open the bonnet and completely remove the front of the vehicle by unscrewing all screws located under the wing and inside the engine to tilt it forward. To access the bulbs, remove the bulb holder carefully and set it aside. Once the bulb holder is removed, take out the spring that holds the base of the bulb and extract the old bulb. Insert the new bulb, being very careful not to touch the glass bulb with your hands, and secure it with the spring. Reposition the bulb holder in its housing. Refit the cover. Repeat the same operation with the other headlamp. Check the operation by turning on the headlights.
Updated on 7 February 2026 by ScegliAuto
This video is currently unavailable
Related tutorials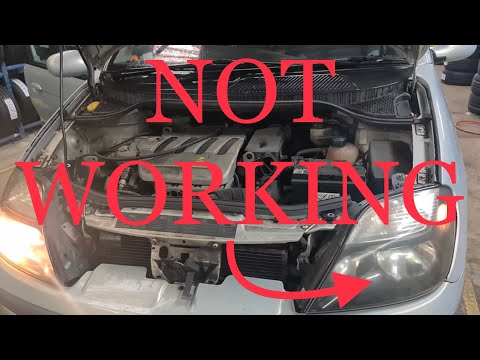
Renault Scenic
(1996-2003 /
)
Before starting, open the bonnet of your Renault Scenic. First, unclip and remove the rear cover of the blown bulb. Next, unclip the clip that secure…
Renault Scenic
(2009-2015 /
Scenic 3, MK 3, MK III, Scenic III)
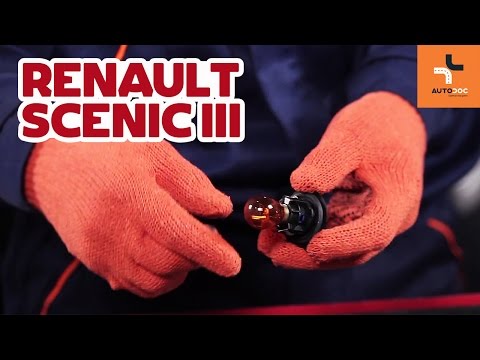
The front indicator is integrated into the headlamp itself: to replace the bulb, open the bonnet and locate the bulb holder (it is at the top of the …

Renault Scenic
(2003-2009 /
MK 2, Scenic 2)
Before you begin, open the front bonnet of your Renault Scenic. Start by removing the blown bulb from its housing in the headlamp by turning the bulb…
Other guides you may be interested in
|
How to Replace the Remote Battery for the Volvo XC40?
In this tutorial, you will see how to replace the battery in the remote for the Volvo XC40, a very simple and quick operation. For this, you will need a replacement battery of type CR2032 and possibly a small flathead screwdriver. First, remove the front cover by pressing the button on the metal ring, then locate the second button, press it as well, and remove the opposite cover. Next, open the circular cap, take out the old battery, and insert the new one in the opposite direction. Finally, reassemble everything. by ScegliAuto More videos
|
|
For advertising on this site Write to info@scegliauto.com
ScegliAuto is not responsible for any inaccuracy of the data in the lists. To report any inaccuracy or your business (if you own the business in question), please write to info@scegliauto.com
Number of seconds to generate the page: 0.726
(c) ScegliAuto 2026 - info@scegliauto.com - Privacy policy VAT number: IT01247470535 |
