
|
Do it yourself
| |||
| ||||


How to reset the service light on Renault Captur
Model: Renault Captur
MK 2
- Years 2019-2026
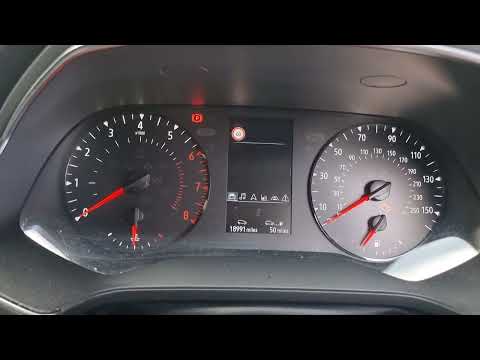
To reset the service of the Renault Captur, we start by turning on the instrument panel without starting the car engine. We press the button with the tabs on the right side of the steering wheel until we reach the first box. We press the button with the downward arrow until a screen appears with the text "oil change in." We hold down the button with the downward arrow until it stops flashing and the new kilometers or the day of the next oil change appear. Then we press the button with the downward arrow until the screen with the text "service in." We hold down the button with the downward arrow until it stops flashing and the new kilometers or the day of the next service appear.
Posted on 19 September 2023 by ScegliAuto
Video tutorial
Related tutorials
Renault Captur
(2019-2026 /
MK 2)
Today we will see how to reset the maintenance on a second-generation Renault Captur. First of all, we turn on the vehicle's instrument panel without…

Renault Captur
(2013-2019 /
MK 1)
In this tutorial, we can see how to reset the service indicator on the Renault Captur, a very simple and quick operation to be performed only after c…
Renault Captur
(2019-2026 /
MK 2)
In this tutorial, we can see how to reset the service in the Renault Captur, an extremely simple and quick operation to be performed only after compl…
Other guides you may be interested in
|
Frequently Asked QuestionsHow to Remove the Right Front Door Panel on an Opel Mokka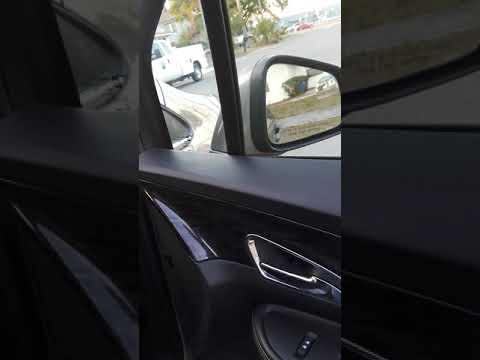
To remove the right front door panel on an Opel Mokka, follow these steps: disconnect the battery terminals located in the engine bay, then use a screwdriver to remove the screws from the upper door opening lever and the screws in the handle. Next, remove the covering plastic near the lever. Unscrew the remaining screws on the door panel and detach the retaining clips. Finally, pull the panel away with your hands and unclip it from the door (disconnect the power wiring and the release cable). Reassemble everything in reverse order. by ScegliAuto More videos
|

|
For advertising on this site Write to info@scegliauto.com
ScegliAuto is not responsible for any inaccuracy of the data in the lists. To report any inaccuracy or your business (if you own the business in question), please write to info@scegliauto.com
Number of seconds to generate the page: 0.062
(c) ScegliAuto 2026 - info@scegliauto.com - Privacy policy VAT number: IT01247470535 |