
|
Do it yourself
| |||
| ||||


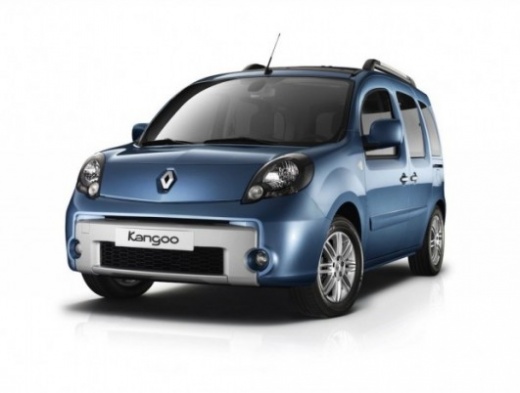
Guide to disassembling the dashboard and cabin heater radiator of the Renault Kangoo.
Model: Renault Kangoo
FW, FC, MK 2
- Years 2007-2021
Today's guide will show us the steps to disassemble and replace the dashboard and the cabin heating radiator of the Renault Kangoo. First of all, we get into the car and start by disassembling and removing the air conditioning controls and the radio, removing the plastic cover and unscrewing the fixing screws underneath; then we disconnect the electrical connectors, as shown in the video. Once all the components have been removed, it will be possible to definitively disassemble the dashboard, if necessary, the cabin heating radiator!
Posted on 24 January 2025 by ScegliAuto
Video tutorial
Related tutorials
Renault Kangoo
(2007-2021 /
FW, FC, MK 2)
In order to replace the heating radiator of the Renault Kangoo, you need to completely dismantle the dashboard of the vehicle, first removing the glo…

Renault Kangoo
(2007-2021 /
FW, FC, MK 2)
Today we will discover the instructions that will allow us to disassemble and replace the cabin fan of the Renault Kangoo. First of all, we get on bo…

Renault Kangoo
(2007-2021 /
FW, FC, MK 2)
In this guide we will see the main information that will allow us to disassemble and replace the cabin fan of the Renault Kangoo. First of all, we ge…
Other guides you may be interested in
|
How to Replace the Bulbs on a Nissan Almera Rear Light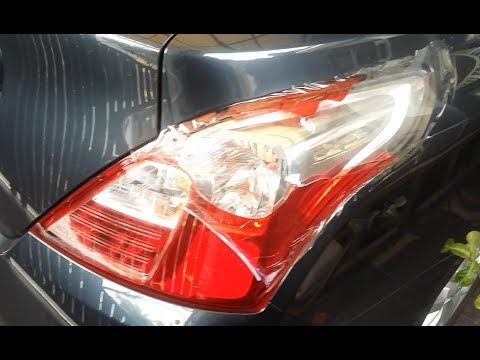
Do you want to change the damaged bulb of a rear light on a Nissan Almera? Follow this video carefully to proceed correctly. Open the boot, remove the fabric side covering, and detach the plastic rivets on the covering. Unscrew the retaining bolts of the rear light using a socket spanner. Once the light is free from the bolts, pull the rear light out of the metal housing, then disconnect the power cable. Place the stop light on a comfortable surface and replace all worn bulbs. To refit the rear light, position it in its housing and tighten all screws after reconnecting the lighting connector. by ScegliAuto More videos
|
|
For advertising on this site Write to info@scegliauto.com
ScegliAuto is not responsible for any inaccuracy of the data in the lists. To report any inaccuracy or your business (if you own the business in question), please write to info@scegliauto.com
Number of seconds to generate the page: 0.067
(c) ScegliAuto 2026 - info@scegliauto.com - Privacy policy VAT number: IT01247470535 |