
|
Do it yourself
| |||
| ||||


Saab 9 3 - Video tutorial
Model: Saab 9 3
MK 2
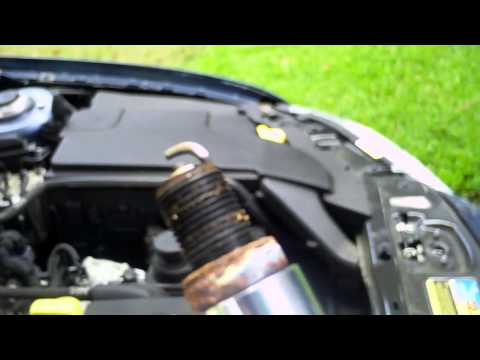
- Years 2002-2014 After opening the front engine hood, we make sure that it stays open safely. It is advisable to carry out this operation with the engine cold to avoid unpleasant burns. Remove the rectangular aluminum band placed to protect the spark plugs, unscrew the fixing pins of the coils, unhook the sockets connected to them and extract them together with the spark plug caps. Therefore unscrew the spark plugs with the appropriate wrench and replace them without exaggerating the tightening torque. Finally, hang up the pipettes, fix the coils with the appropriate screw and reconnect the relative sockets. Reattach the lid.
Posted on 4 July 2023 by ScegliAuto
 Replace the spark plugs on the engine
Saab 9 3 (2002-2014 / MK 2) Disconnect the control unit connector. Gently remove the plastic cover protecting the motor. In order not to confuse the cables, disconnect only the 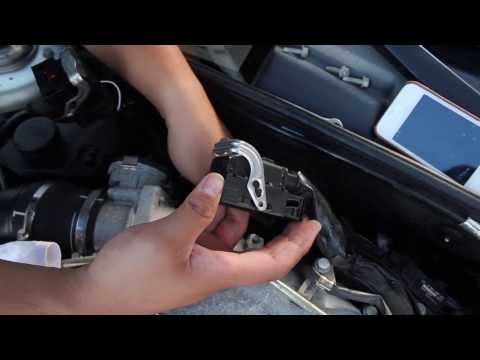 Replace the spark plugs on the engine
Saab 9 3 (2002-2014 / MK 2) Disconnect the control unit connector. Gently remove the plastic cover protecting the motor by simply lifting it upwards. In order not to confuse the 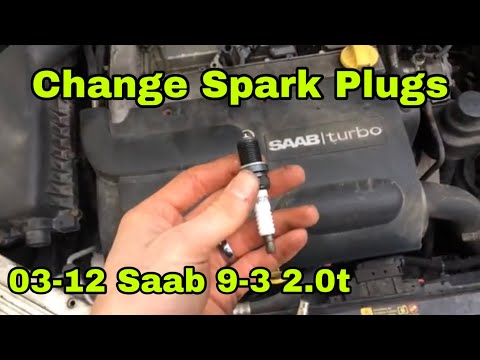 How to replace the spark plugs on the Saab 9 3
Saab 9 3 (2002-2014 / MK 2) Unhook the hood from the special lever and lift it, now it will be necessary to have access to the part under the upper engine cover, then remove it Other guides that may interest you
|
How do you open the fuel flap of the Volkswagen Golf 5?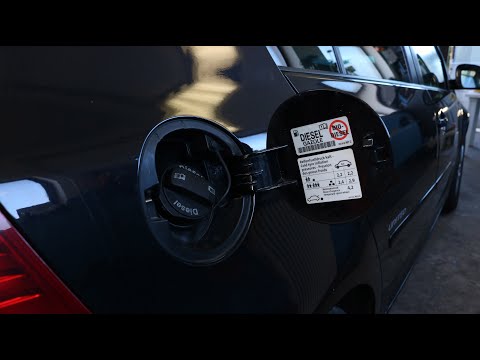
In order to open the fuel flap of the Volkswagen Golf 5, you need to press the appropriate button inside the passenger compartment, which is located in the rear part of the glove box on the driver's door. By pressing the button, the flap will unlock and it will then be possible to open it manually. Once the flap has been opened, the fuel tank access cap must be unscrewed. To close everything again, it will be sufficient to screw the tank cap again; subsequently, the flap must also be closed, pressing it so that it fits thanks to its locking mechanism. by ScegliAuto More videos
|
|
For advertising on this site Write to info@scegliauto.com
ScegliAuto is not responsible for any inaccuracy of the data in the lists. To report any inaccuracy or your business (if you own the business in question), please write to info@scegliauto.com
Number of seconds to generate the page: 0.036
(c) ScegliAuto 2024 - info@scegliauto.com - Privacy Policy VAT number: IT01247470535 |